
Introduction
This article will show you how to launch your website with an SSL certificate in just 30 minutes using ispmanager, a hosting control panel that provides tools for setting up and managing websites and other services.
This instruction guide is suitable for virtual and regular dedicated servers with the ispmanager control panel pre-installed.
With the help of this quick guide, you will be able to quickly perform the basic steps to set up your website and corporate email in just 30 minutes and ensure reliable data protection.

Special offer: up to 60% discount on an ispmanager license when ordering a dedicated or virtual server. The ispmanager installation is already completed.
What advantages does a server with ispmanager pre-installed offer?
Being an official partner, HOSTKEY offers ispmanager licenses with its servers at a very favorable price. The discount reaches almost 60% off.
Renting a server with pre-installed ispmanager eliminates the need to perform manual installation - simply put, you immediately get ispmanager ready to work on delivery. This greatly simplifies and speeds up the process of IT infrastructure deployment.
Ispmanager will be especially convenient for startups and small development teams that do not have a system administrator. Ispmanager allows you to centrally manage your web server, mail services, databases and other IT infrastructure components through an intuitive interface. This significantly saves time and eliminates the need to be proficient in low-level server software configuration.
Finally, when renting a server with ispmanager with any tariff, you get a free license for 1 month, while the trial version is only 14 days if you purchase it on your own. This allows you to start using the full functionality of the hosting management system immediately after deployment at no extra cost.
When renting a HOSTKEY server, you get a turnkey infrastructure - a ready-to-work server with pre-installed and configured software. You don't need to buy and activate a license, register in the ispmanager personal cabinet, activate a trial license or install software on the server - all this is done automatically. It is enough just to select the appropriate license, configure the server and you can start working in 15 minutes after launching the server.
Getting started with ispmanager
The following steps will describe how to configure a pre-installed ispmanager on a rented VPS. Detailed instructions on how to place an order on the hostkey.com website can be found here. When ordering a server, you must select ispmanager:
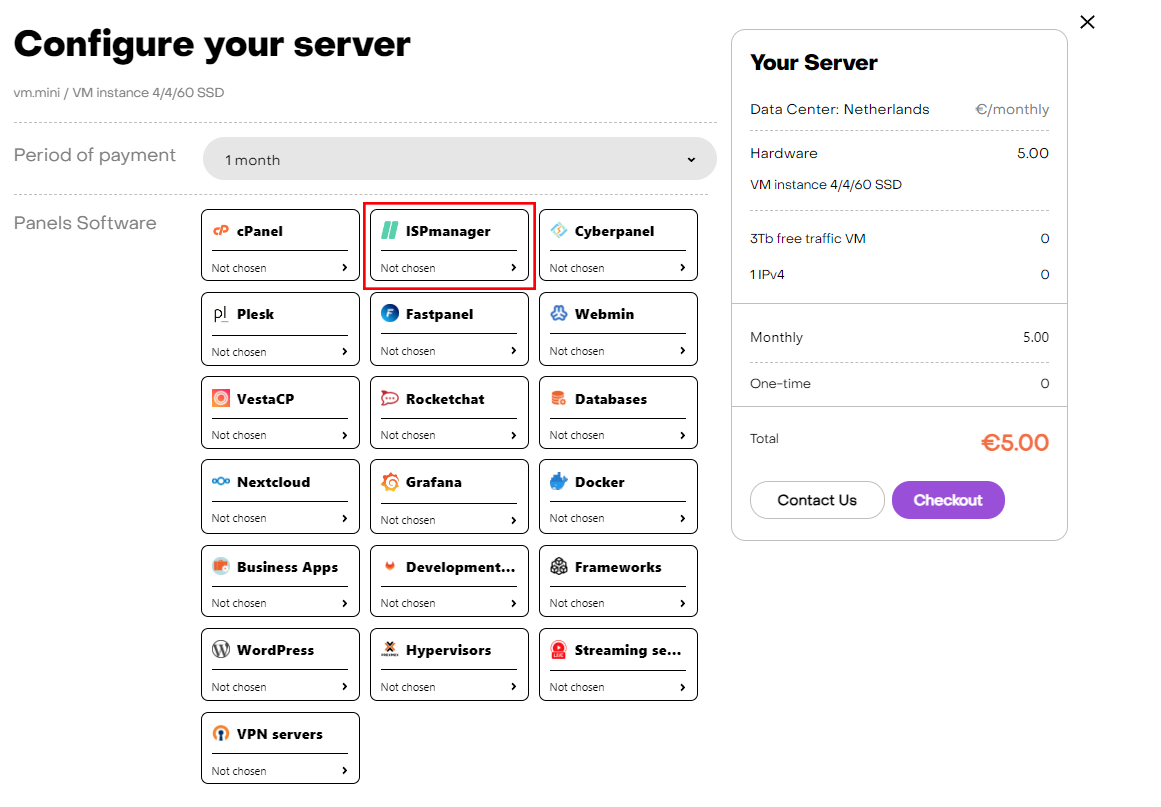
Then select the Ispmanager version you need:

The Host, Lite, and Pro versions have a few significant differences:
- Lite: A good choice for personal or small projects. This includes unlimited accounts and support for up to 10 sites.
- Pro: A good option for freelancers, web studios and internal marketing teams. This provides unlimited accounts, support for up to 50 sites and Docker integration.
- Host: Ideal for web studios and traffic managers. This allows support for an unlimited number of sites, Docker included.
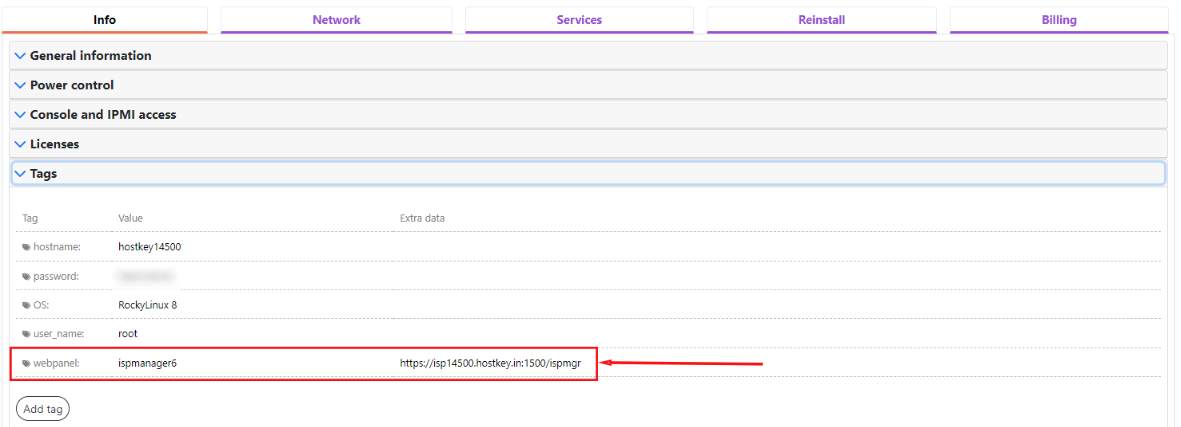
Upon paying for the order, you will receive a notification to the e-mail address specified during registration informing you that the server is ready to work. It will contain the IP address of the VPS, as well as login and password credentials to connect. Our company's clients can then manage their equipment through the server control panel and API - Invapi.
The authorization details are also listed here:
- link to access the ispmanager webpanel: in the webpanel tag;
- login: root;
- password: password.
Preliminary settings
Before working with your site, you need to install the software you plan to use for your work. You can do this by going to "Settings" → "Software Configuration":
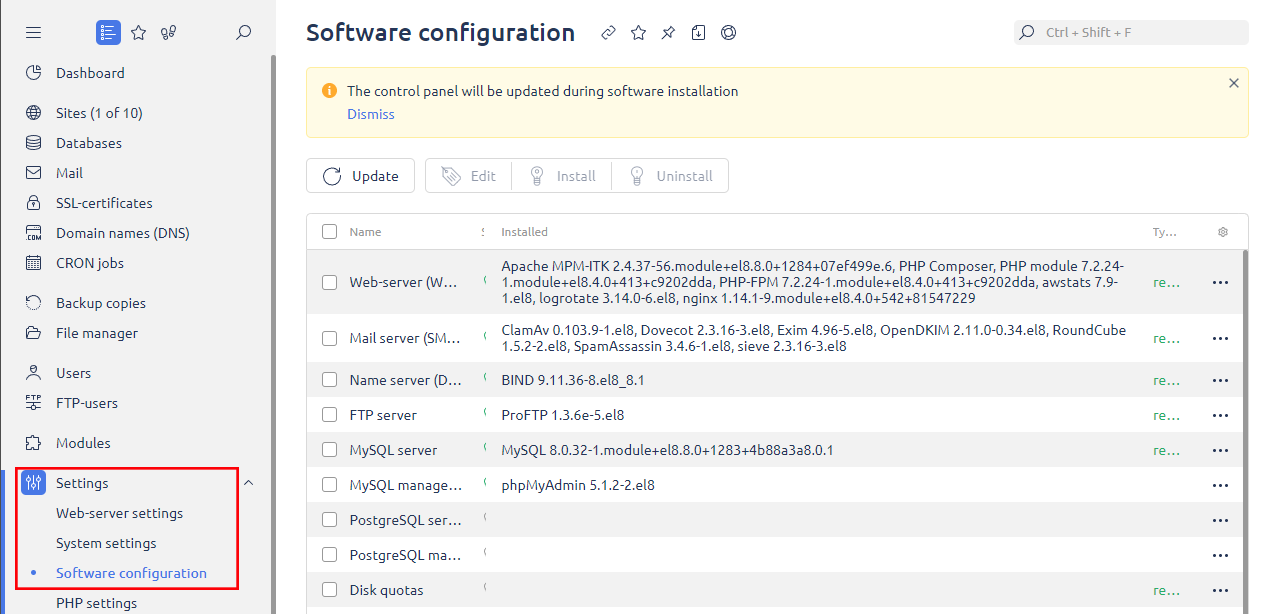
- Web server (WWW) - select a web server to host user sites. Possible options include Apache, Nginx, and LiteSpeed. As well, you need to configure performance, caching, and security settings.
- Mail server (SMTP/POP3/IMAP) - configuration of the mail server for sending and receiving emails. Possible options include Exim, Postfix, Dovecot, used to configure anti-spam filters and backup.
- Name Server (DNS) - A built-in or external DNS server for resolving site domain names. It is used for domain binding and log configuration.
- FTP Server - An FTP daemon to provide users with access to site files via the FTP protocol. Variants include ProFTPD, vsFTPD necessary for setting access rights and limits.
- MySQL DBMS server – a server for running web applications that use MySQL. It is used for user configuration, privileges, replication, and backup.
- The MySQL Web Interface (phpMyAdmin) is a graphical interface for administering MySQL databases.
- PostgreSQL database server - similar to MySQL, but for PostgreSQL applications.
- The PostgreSQL web interface (phpPgAdmin) is a GUI for managing PostgreSQL.
- Disk quotas - limits on disk space for users, websites, and mailboxes.
You should also install Alternative version PHP 7.4 or higher:

Creating a new user
If you need only one user with maximum rights in the hosting control panel, you don't need to create this user separately. It is enough to start a website or any other resource on the host and a www-root user with unlimited rights to the file system and database will be automatically created.
Accordingly, it is not necessary to pre-create an administrator account if only one user with full access is required. Simply by deploying a website or application on the host, you will automatically get a www-root user with maximum privileges.
Using a single user simplifies administration - access rights are configured just once. In addition, all sites, databases and files are available to this user without restriction.
However, this approach has some disadvantages. For example, deleting this single user will delete the accompanying home directory, which will lead to the loss of all hosted sites and data. There is also no separation of access rights between users.
Thus, the choice between single and multiple users depends on the needs of the particular project, and one should consider both the convenience and the risks of each approach.
It is also worth mentioning that it is possible to use templates to grant rights to multiple users. If a relatively large project or a team is envisioned, templates are a must.
The procedure for creating a new user is fairly straightforward:
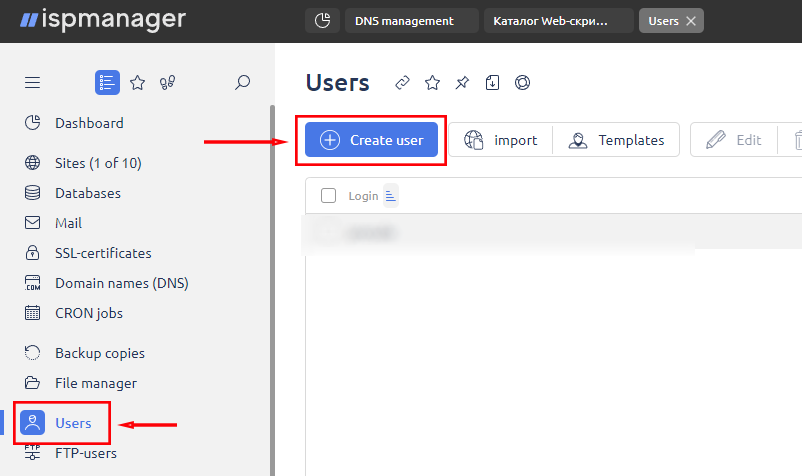
1. Go to the "Users" section of the control panel and click on the "Create New User" button:
2. Enter the login and password for the new user:
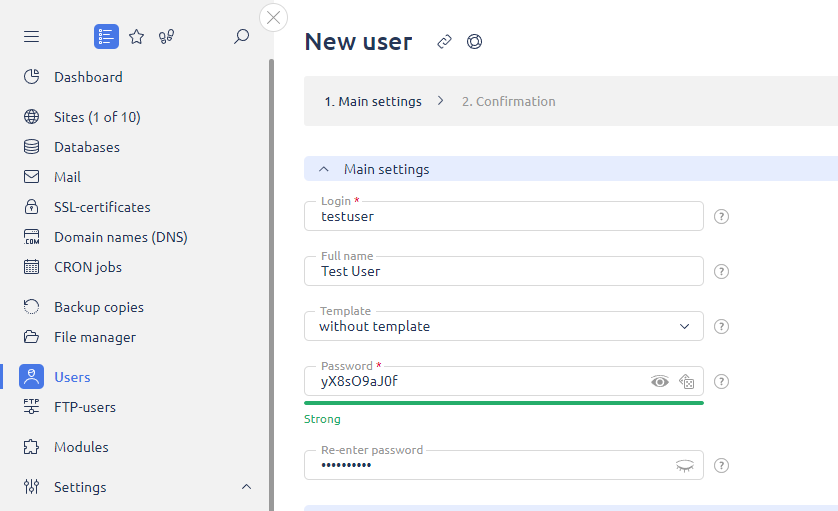
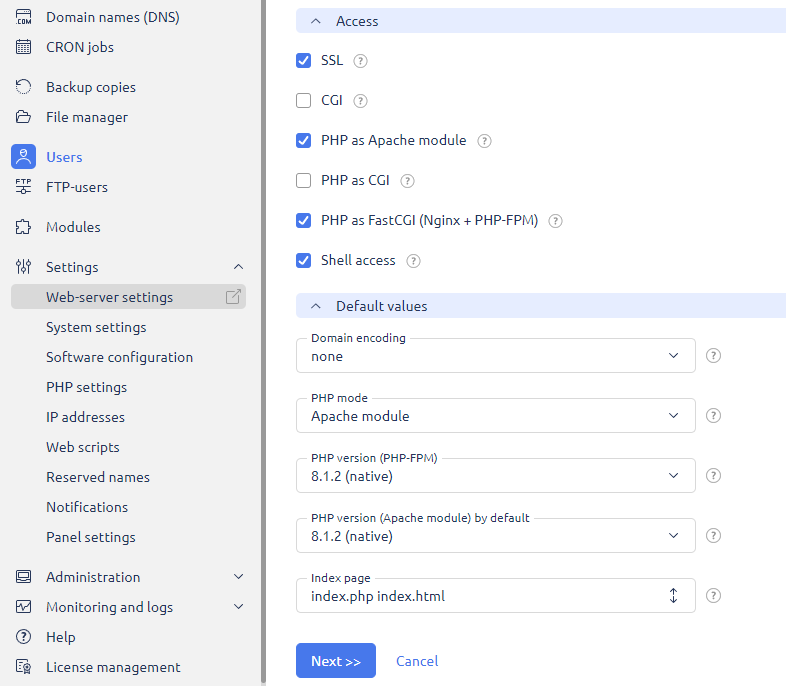
3. Check the boxes for the required access rights. It is better to give the user the right to use SSL, PHP, FastCGI and set the latest versions of PHP:
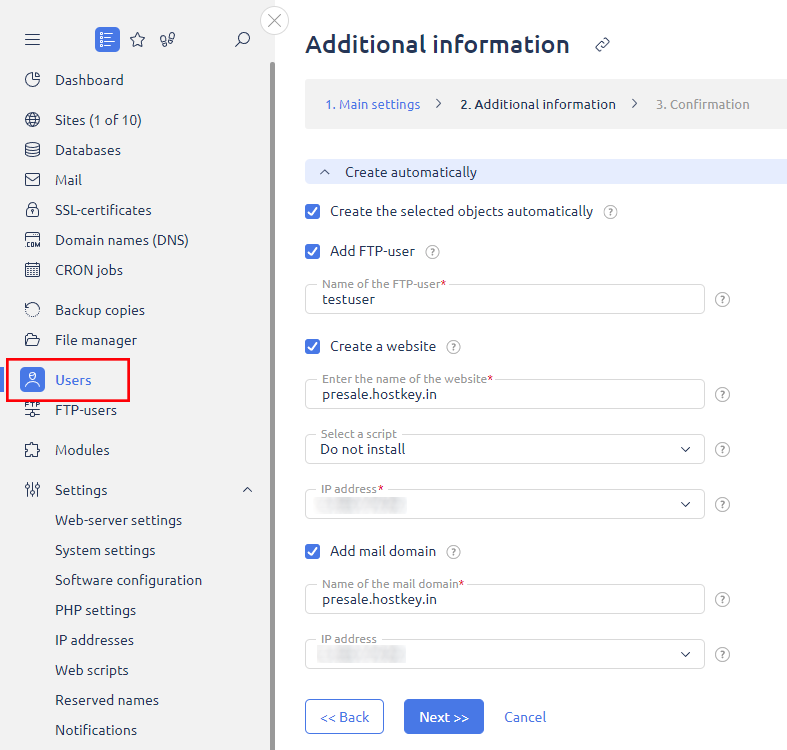
4. Fill in the data for automatic creation of the site and mail domains (optional):
5. Click on the "Finish" button:
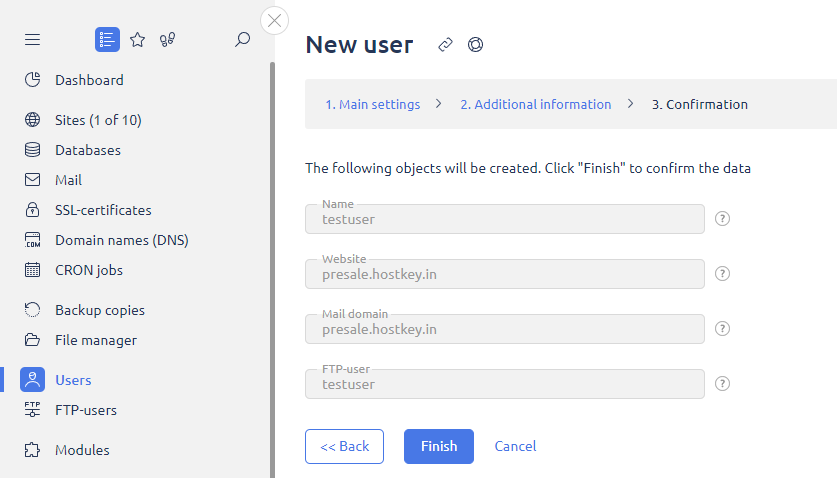
The new user will appear in the list in the "Users" section.
6. Log in as the created user:

Adding a site to a server with ispmanager
You only need to follow a few steps to create a new website:
1. Select the "Sites" or "Web Server" tab, depending on the ispmanager version:
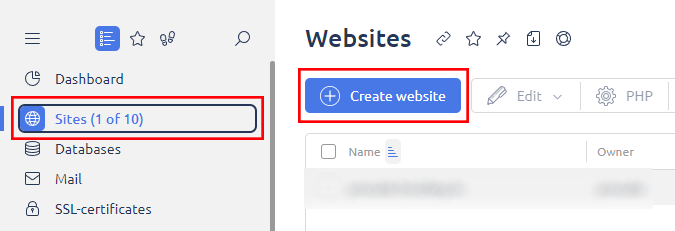
2. Fill in the information about the site. The main thing is to specify the domain name; the site directory will be created automatically:
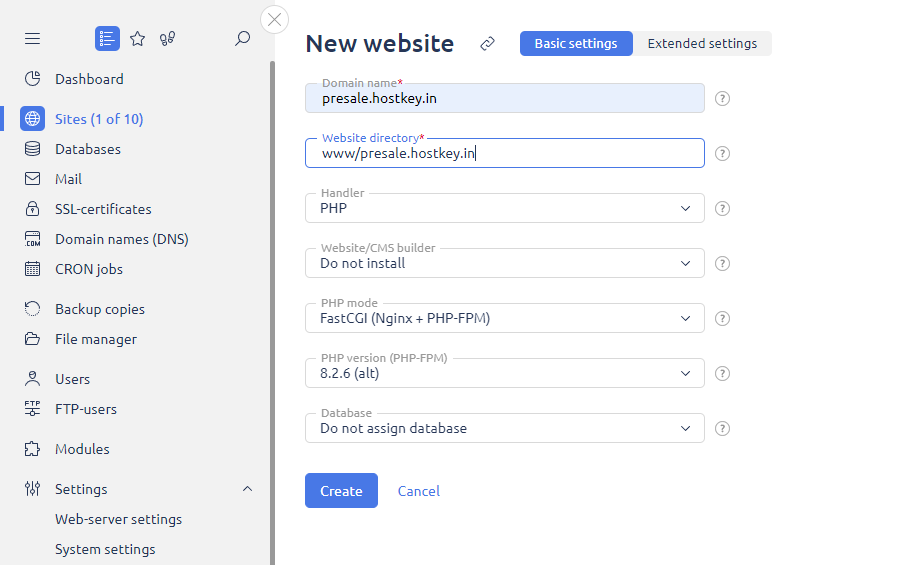
During the same stage, the necessary settings for the web server are made: you should choose the PHP-version and PHP mode, CMS and other parameters according to the requirements of your project.
3. Click on the "Create" button:
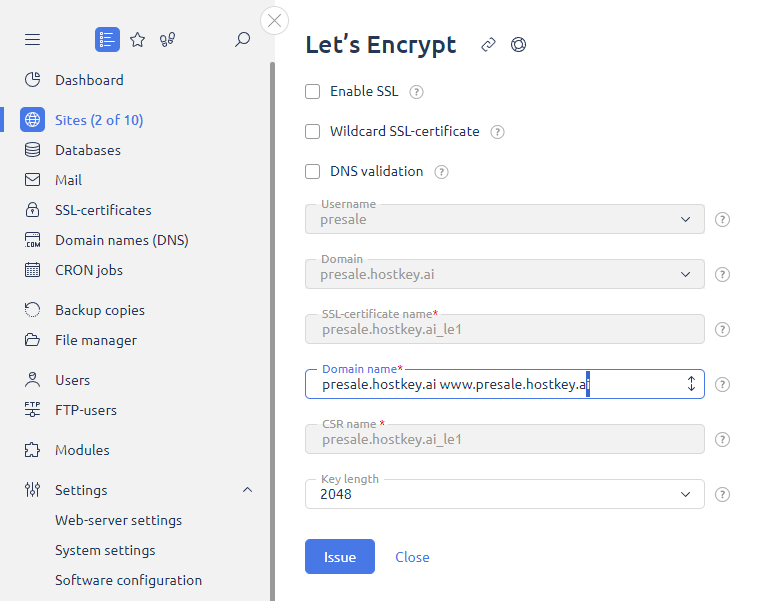
4. Here you can also issue an SSL certificate for the site. If a certificate is not required, it is better to click the "Cancel" button. If you click on the "Cross" icon, a certificate will be issued.
5. Configure DNS records for the domain to point to the IP address of the server.
6. If you have not yet obtained an SSL certificate, you must obtain one. Detailed step-by-step instructions on how to configure and install SSL certificates can be found in the official developer's documentation.
7. After DNS records are set up and the domain is assigned to the server, the site should be accessible via the specified domain name:

CMS installation and database setup
If the CMS was not selected when creating the site, it can be added later. To do this, select the desired one in the "Sites" menu and click the CMS button:

You will be taken to the CMS selection page:
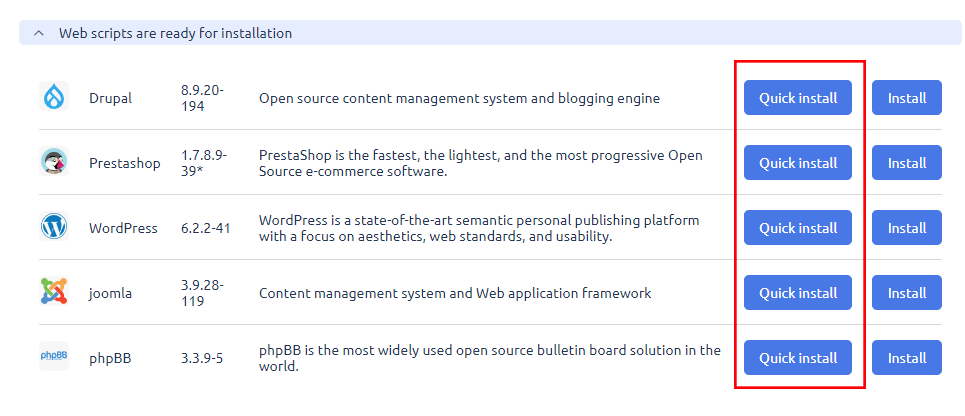
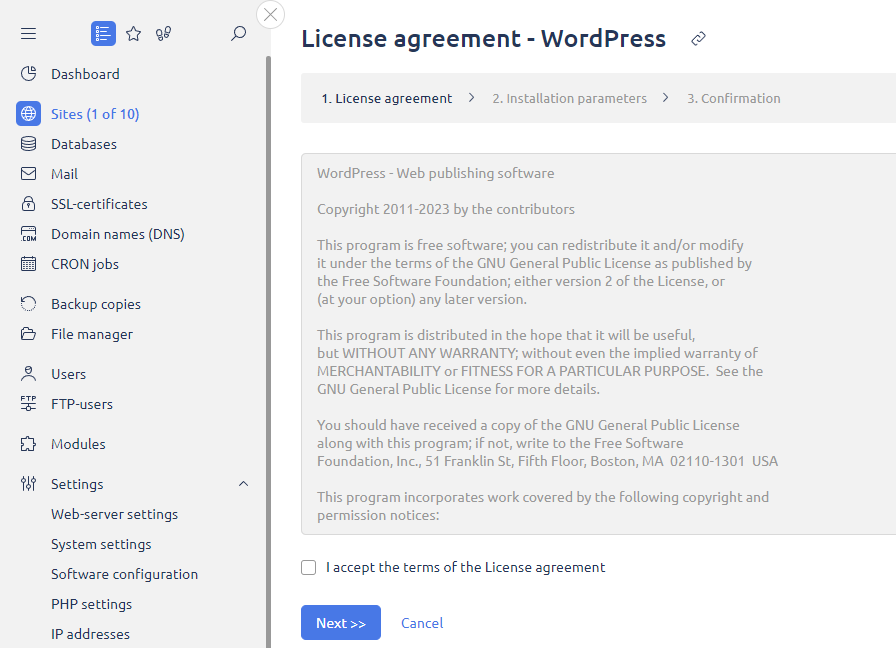
After selecting the CMS, all you need to do is click on the "Quick Install" button. Then read the license agreement and accept it:
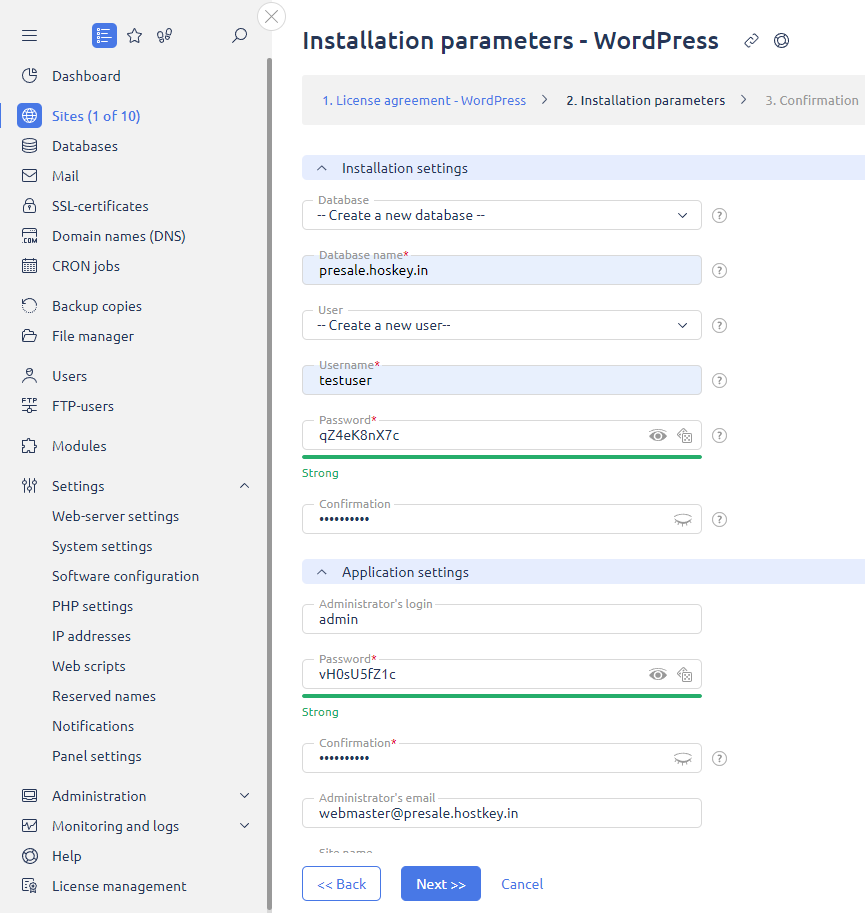
After installing the CMS, you need to specify the user who will manage it, as well as set the login and password of the administrator and the e-mail address:
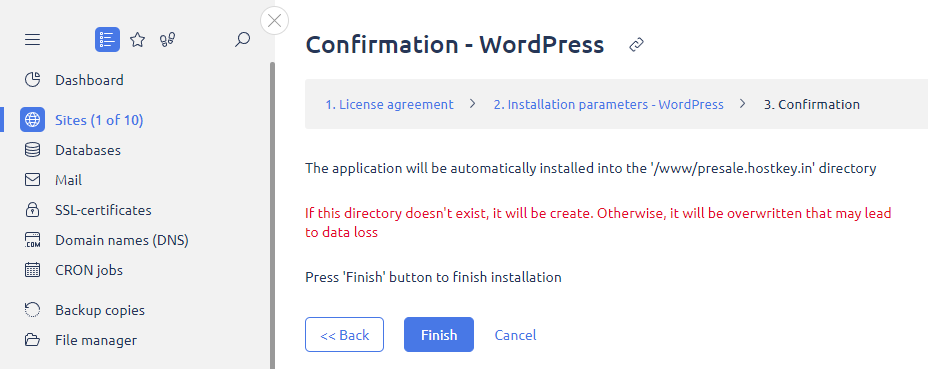
Click on the "Finish" button:
Setting up corporate mail
Creating a mail domain and mailboxes
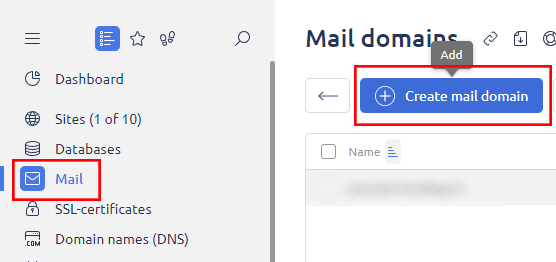
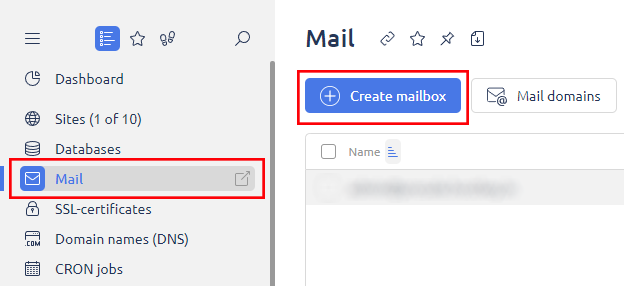
Before setting up on the e-mail server, you need to create a mail domain. This is done in the "Mail" section - just click on the "Mail Domains" button and then "Create Domain":
Then set the desired domain name, specify the owner and server IP address. Here you can also customize actions with e-mails to non-existent mailboxes - either send an error notification or delete such e-mails:
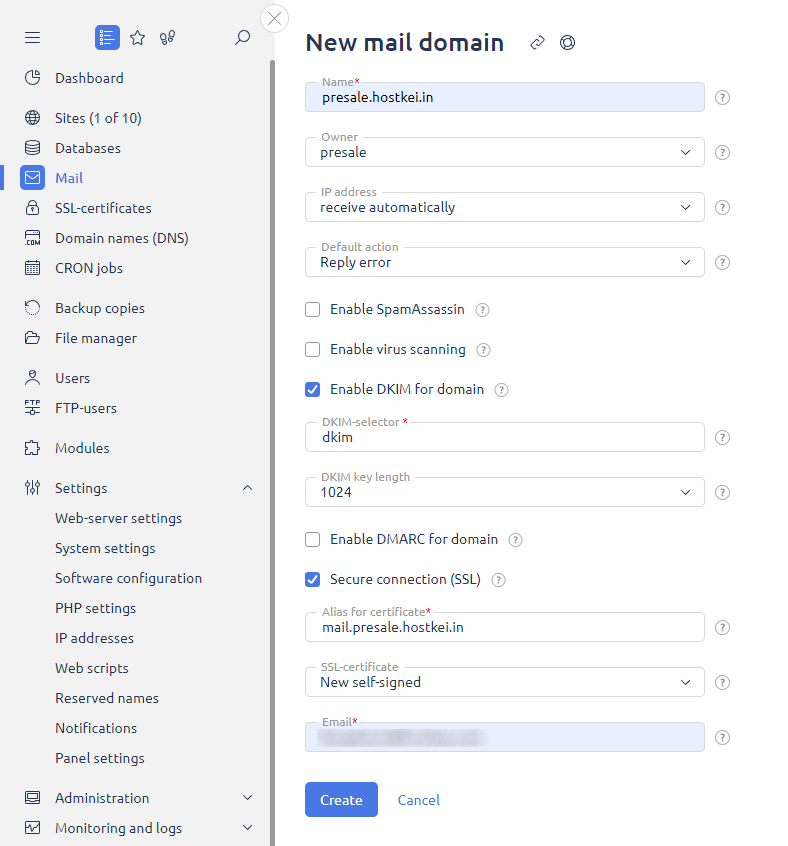
After filling in the fields, you should click on the "Create" button. Now you can start creating a mailbox. If you do not allow the DKIM option, your mail will likely attract spam.
In the "Mail" section you should press "Create a mailbox". Then you need to set the name of the box, you can add aliases, or alternative addresses for this mailbox:
Useful options include forwarding copies of e-mails to another address and limiting the maximum mailbox size. These actions will help to avoid overloading your disk with mail data.
Ispmanager also allows you to import existing corporate mail. To learn how to do this, please refer to the developer's documentation.
Setting up a mailbox
After creating mailboxes, you can set up access to them via mail clients on your devices. All the details you need to connect can be found in the control panel in the "Mail" section. It is enough just to select the desired domain, click "Edit" and get the details from the "Settings for mail clients" section.
Even easier - use the web-interface of Roundcube, which is already built into the panel (if the mail server (SMTP/POP3/IMAP) was installed during software configuration). It allows you to go to the link https://<IP-address>/roundcube or through the "Mail client" button in the "Mail" section.
If for some reason the interface is not available, it can be installed manually. In the "Software Configuration" section, select "Mail Server", click "Change" and tick Roundcube.
Spam is a real headache for any mailbox. Ispmanager provides several tools to combat this problem.
First of all, there is Greylisting. When receiving a message from an unknown sender, this service does not accept it at once, but rather returns a temporary denial of service (error code 4xx). A legitimate mail server will retry delivery after some time (usually within 5-10 minutes) when receiving such an error. Spam servers usually do not retry sending messages when errors occur so as not to waste resources. In this way spam is weeded out.
Another tool is OpenDKIM. It checks the digital signature of an email and blocks forgeries. In addition, SpamAssassin analyzes the content for spam signs. And of course, ClamAV antivirus checks attachments for viruses and malware.
In general, the panel's arsenal includes plenty of options to fight back against annoying spam.
Verification of outgoing mail
DKIM and DMARC technologies can increase the trust and deliverability of emails, protect a domain from phishing and spoofing, and protect the reputation of the sender. These technologies add a digital signature to emails and allow you to verify that they are indeed sent from a specific domain, confirming the authenticity of the sender.
To activate these options, you must install the OpenDKIM module through the Software Configuration section.
Conclusion
So, we have covered the main steps of setting up a site with an SSL certificate through the ispmanager control panel - from domain and database creation to certificate installation and mail configuration.
By following this quick guide, you can launch a full-fledged secure website with corporate e-mail in less than 30 minutes. ispmanager provides all the tools you need to quickly deploy web projects, and HOSTKEY allows you to get a turnkey server with ispmanager pre-installed.
Special offer: up to 60% discount on an ispmanager license when ordering a dedicated or virtual server. The ispmanager installation is already completed.