We’ve been using Google Meet for our work, and it’s been the primary platform for both internal and external meetings. However, we started to question its privacy and security capabilities.
While Google Meet offers integration with the wider Google ecosystem and is user-friendly, it doesn’t provide adequate isolation of communication within a corporate network. In scenarios where we needed to ensure that communications were completely private while still allowing external participants to connect over secure connections, Google Meet fell short. It didn’t offer the level of control over data traffic that we required, and its encryption methods didn’t always meet our organizational security standards.
The ideal solution would be one that fully isolates all communication within a corporate network, allows for secure connections with external parties, and utilizes the latest encryption techniques. In that sense, Google Meet seemed somewhat vulnerable compared to other options.
Possible Solutions to the Problem
The result of a thorough discussion led to the following options:
- To ignore all the issues and continue using Google Meet.
- To use Zoom; the advantage here is that the free tier offers more than 40 minutes of usage time. The downside is that we’re still dependent on a paid service, as the free options aren’t sufficient for our needs.
- To utilize NextCloud for video conferencing. However, it’s also used internally as a file storage system, so setting it up would require additional work. No one wanted to be in charge of this task.
- To use self-hosted, open-source solutions. We considered BigBlueButton and Jitsi Meet; after evaluating the system requirements and the complexity of setup, we chose Jitsi Meet.
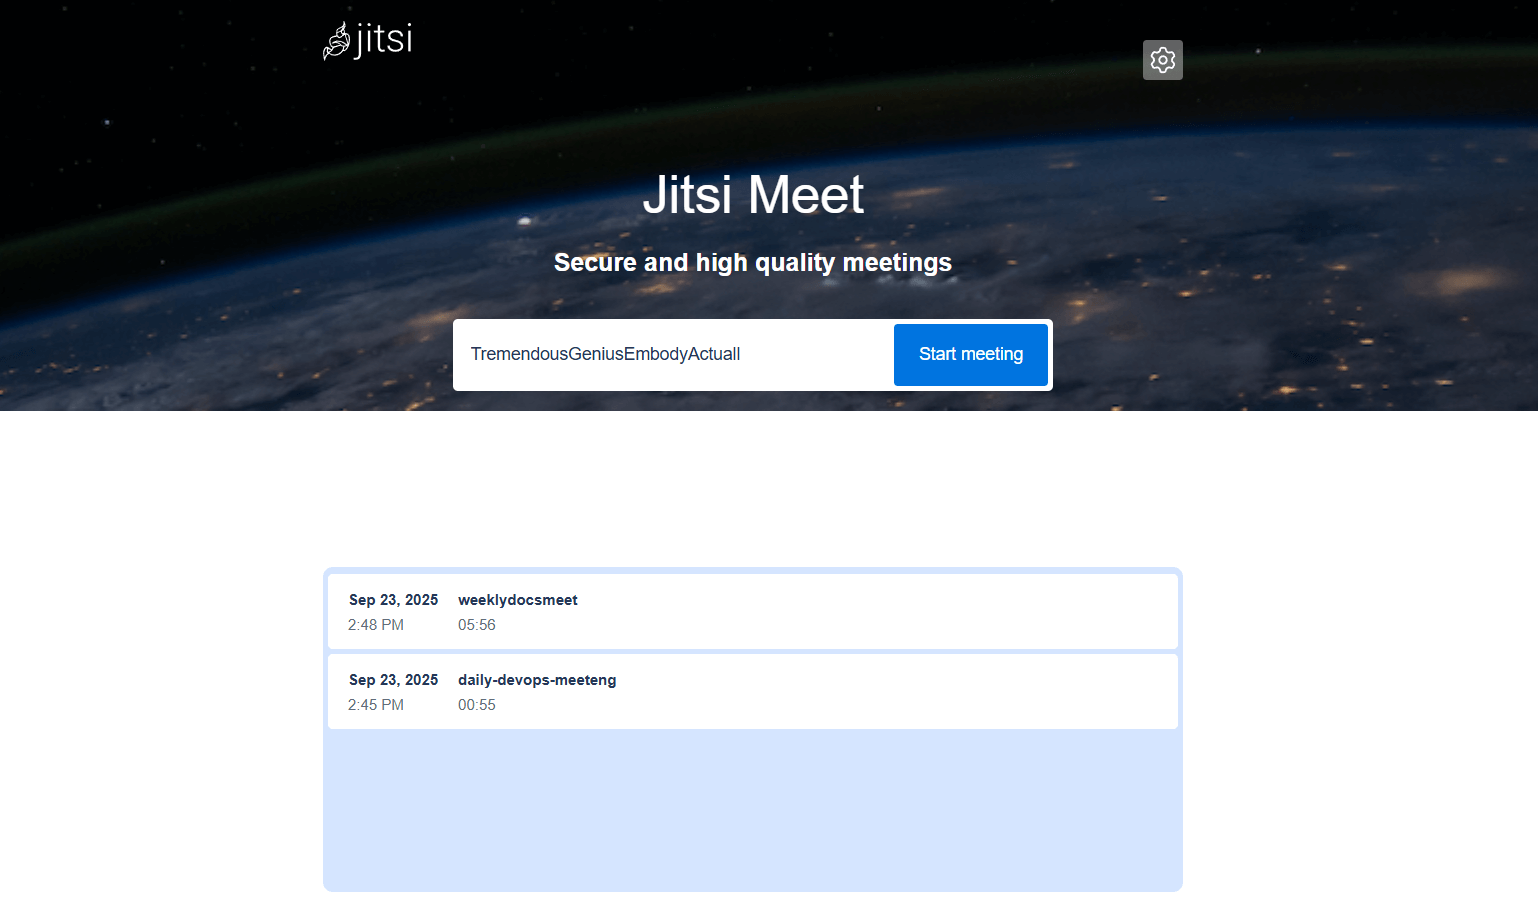
Setting Up Jitsi Meet
Setting up Jitsi itself isn’t particularly complicated. The only challenging part was adding LDAP for authentication, but everything else is straightforward according to the official documentation. We followed this step-by-step procedure using an Ansible script to deploy Jitsi on a VPS:
-
Install Docker: We installed Docker on the server where we want to run Jitsi in a container.
-
Install dependencies: We used docker-compose to launch Jitsi and unzip to extract the configuration files.
-
Create a project directory: We created a folder, e.g., /opt/jitsi, to organize all Jitsi-related files.
-
Download the Jitsi archive: The script downloaded the jitsi-meet-docker.zip archive from the specified URL and saved it in /tmp. This archive contains all the necessary files for starting Jitsi through Docker.
-
Unzip the archive: The archive was extracted into the created directory, ensuring everything needed for Jitsi’s operation was in place.
-
Configure Docker ports: We created a docker-compose.override.yml file to set up the required network ports:
- Prosody (the XMPP server) uses port 5280 for internal traffic.
- JVB (Jitsi’s video server) opens port 4443 for external access.
These settings ensure that Jitsi can handle video and audio streams properly and allow connections over the internet.
-
Generate passwords: We executed a script (gen-passwords.sh) to generate secure passwords for Jitsi, enhancing its security against unauthorized access from outside.
-
Configure environment variables: We added the following settings to the .env file:
- JVB_STUN_SERVERS=stun.l.google.com:19302: Specifies the STUN servers for better connections.
- JVB_TCP_HARVESTERDISABLED=false: Enables TCP traffic collection.
- JVB_TCP_PORT=4443: Sets the port for TCP traffic. These adjustments ensure Jitsi operates smoothly, especially in complex network environments.
-
Launch Jitsi through Docker: The command docker compose up -d started all the containers in background mode. Now, Jitsi is running on the server, and users can connect to it via a browser.
Alternatively, you can order a virtual server with Jitsi pre-installed with just one click, avoiding the need for manual server configuration via SSH.
Stress Testing
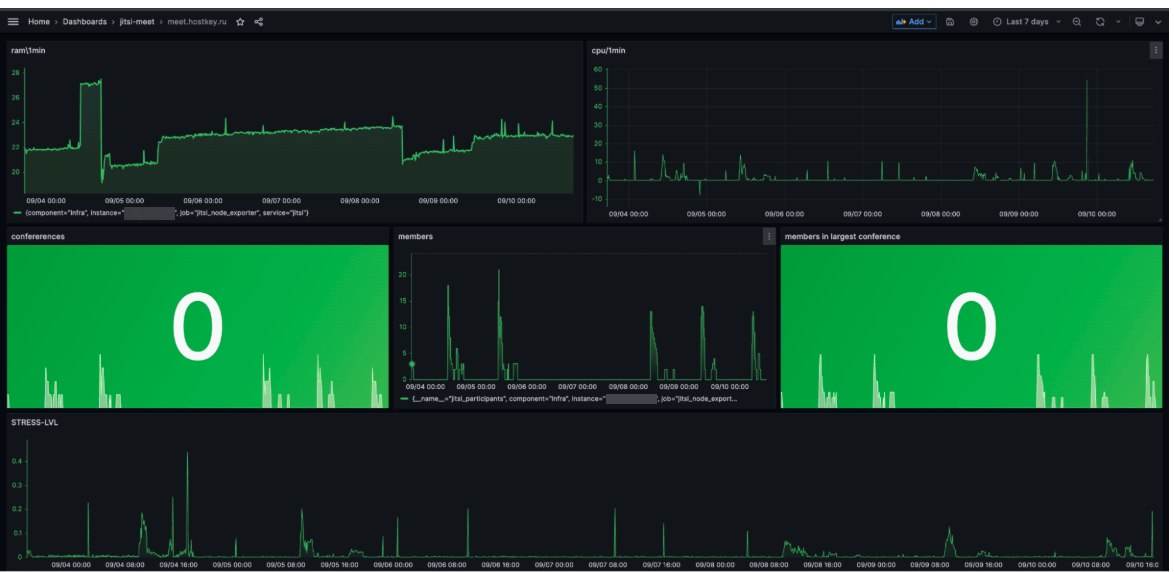
We’ve been using Jitsi for a couple of weeks, and it’s time to evaluate its stability and performance. Let’s start by examining the server’s capacity and load handling capabilities.
The vm.v2.medium VPS (powered by a Xeon Gold 6226R processor with 8 cores, 16 GB of RAM, and 160 GB of NVMe storage) is more than adequate, even with some extra resources available. We have implemented monitoring tools to monitor the server’s stress levels.
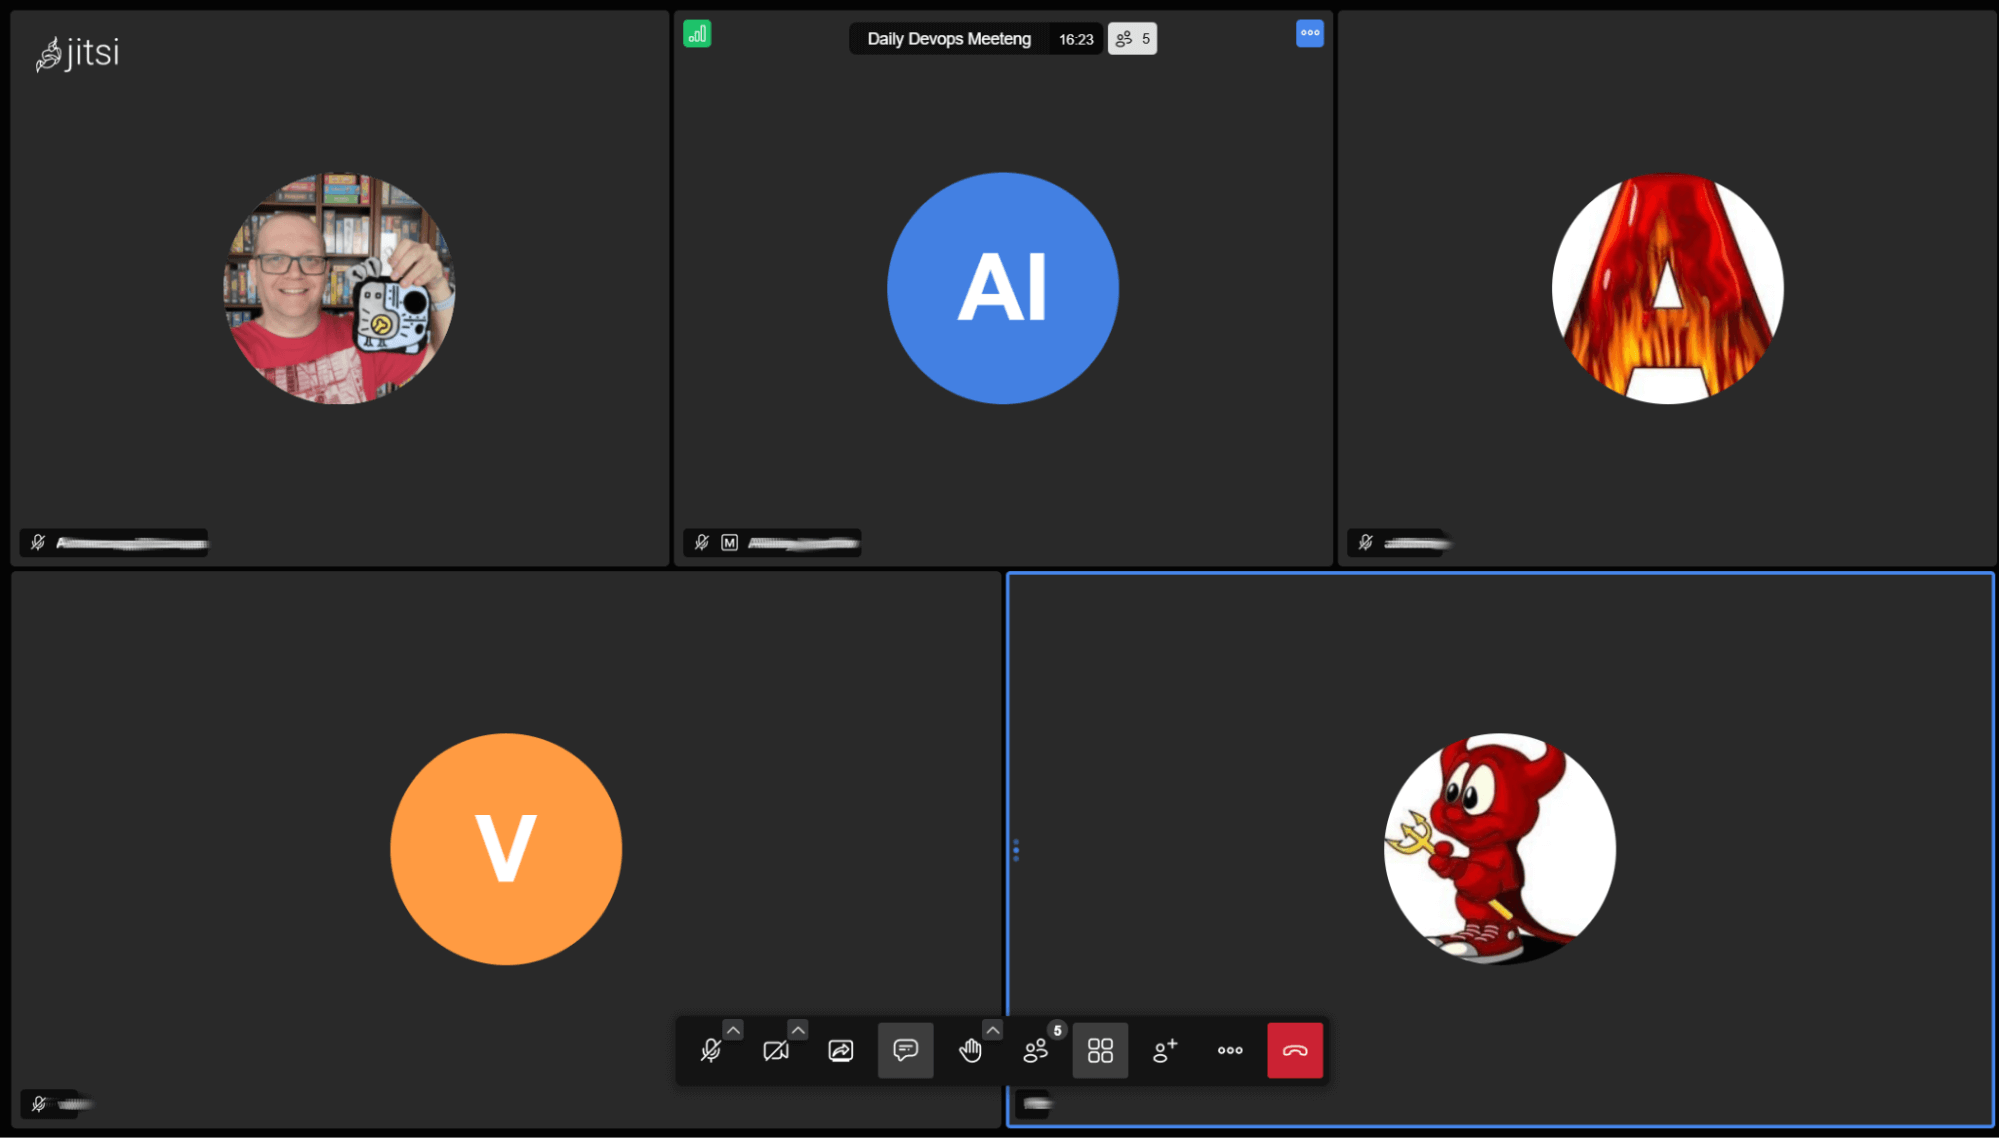
During tests with 12 participants, 8 of whom used video conferencing, the server’s stress level was 0.25. On average, when no one used video, the stress level was below 0.1. For instance, a meeting with 13 participants only caused a load of less than 0.04 on the server. This indicates that we can comfortably handle up to 10 concurrent meetings without video conferencing; in fact, we could even handle more—up to around 15 meetings with only audio participation per session.
Jitsi performs poorly when the stress level exceeds 0.9; however, we anticipated handling a maximum of 25–30 participants using video conferencing simultaneously. Fortunately, the server was able to handle this load. We could consider adding more CPU cores to the machine or even upgrading to a more powerful platform.
The minimum requirements for running Jitsi would be a VPS with just 2 virtual CPU cores and 2 GB of RAM (e.g., the vm.v2-nano model or a similar one).
The only thing worth mentioning is that Jitsi behaves differently for everyone when used over a corporate private network. A few colleagues have experienced frequent disconnects, but these are isolated cases; most employees haven’t encountered this issue. It’s necessary to check the network settings on the employees’ computers.
Main issues
Here are the main issues we’ve encountered, as well as some potential problems you might face:
- Integration with calendar services: Jitsi doesn’t natively integrate with popular calendaring apps like Google Calendar. Although there’s a plugin available for the enterprise version of Jitsi, it’s not compatible with the community edition. As a workaround, we use notifications in Rocket Chat or manually create events in calendars and include meeting links.
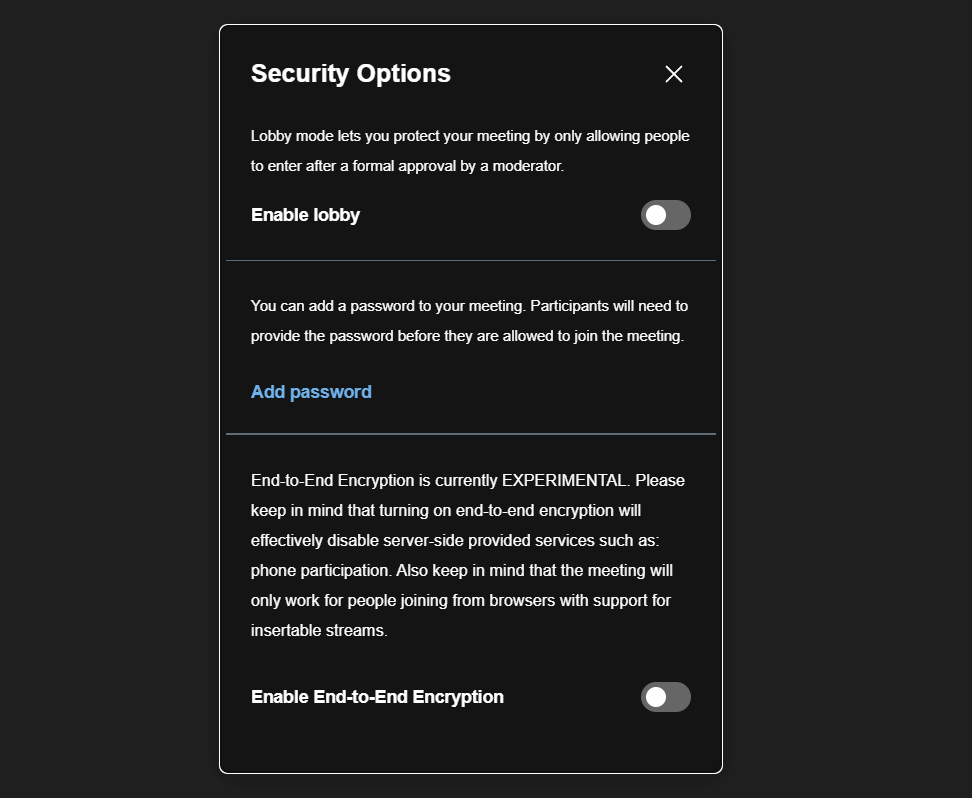
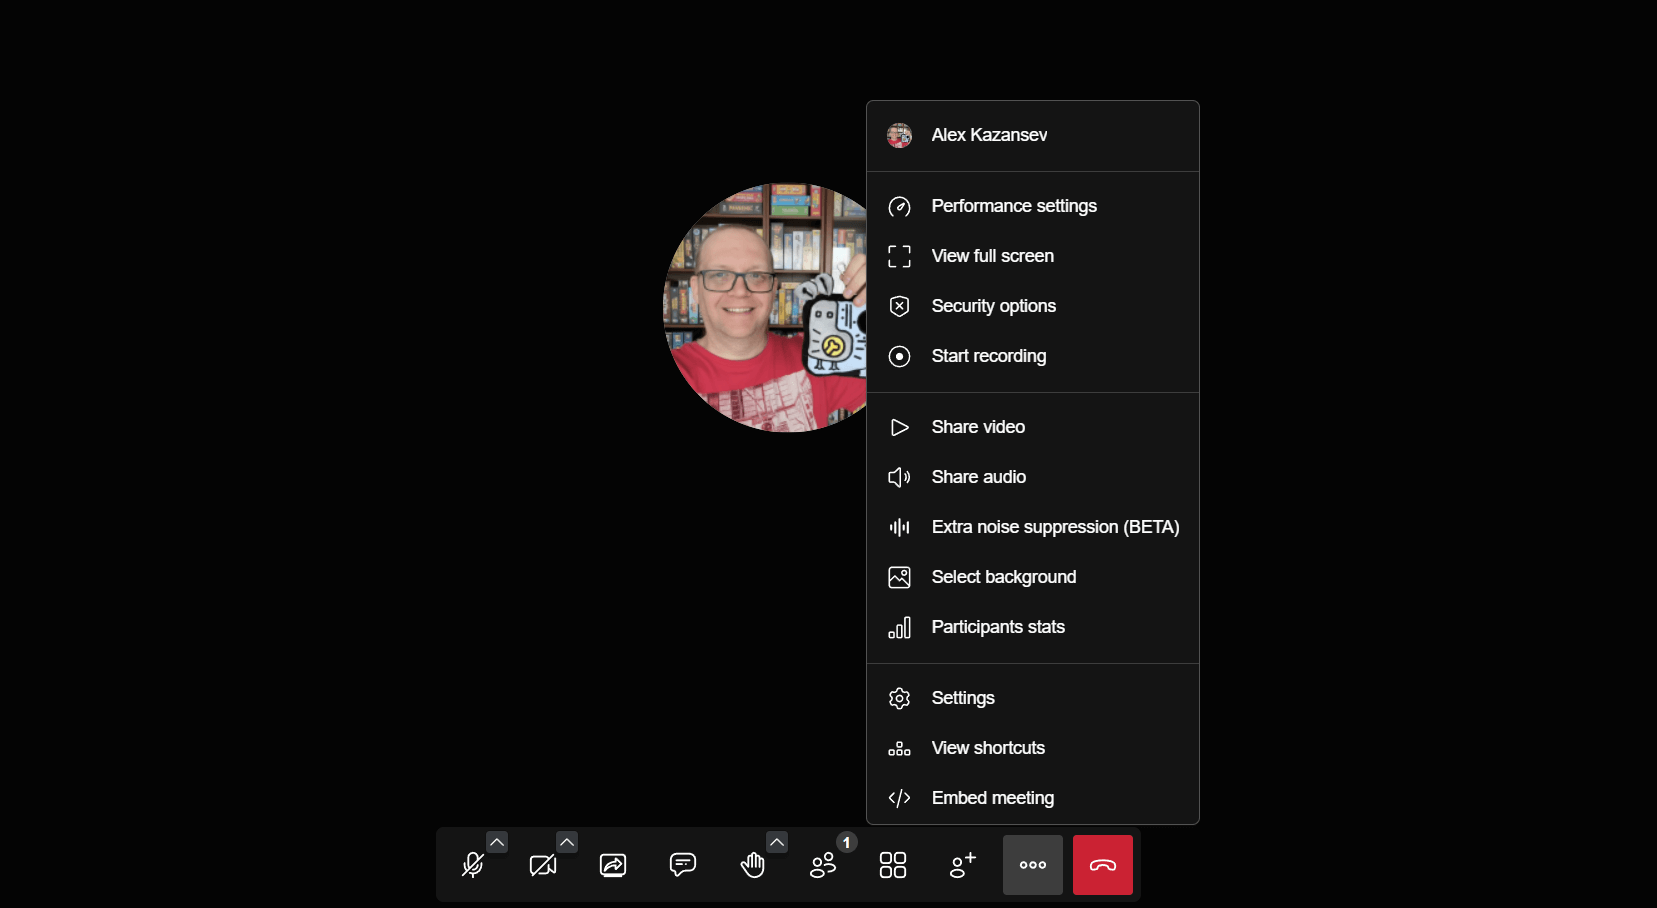
- Lack of built-in meeting management tools: By default, anyone can create meetings and invite anyone. To improve security and manage meetings more effectively, we’ve restricted access via LDAP. However, to set up advanced features like meeting rooms, moderators, and other functionalities, we’ll need to install and configure additional plugins (e.g., Galaxy or Jitsi Admin.
- Administration issues: Currently, the person who first joins a meeting becomes the administrator, with full control over it (including access to recording functions). This can be adjusted through meeting settings, but unfortunately, you must manually visit each meeting to enable these options.
The software also has plenty of other features: screen mirroring, chat functionality, performance settings, and the ability to integrate meetings into websites, among others. While it doesn’t offer the same capabilities as Google Meet or Zoom, it’s very similar and provides excellent audio and video quality.
Conclusion
In summary, we’ll continue to develop Jitsi Meet further. As a corporate tool for meetings or negotiations, it represents the simplest and most resource-efficient way to organize them. The quick deployment we’ve already provided for you allows you to set up your own server in minutes without having to read any manuals.
What video conferencing tools do you use?