AmneziaVPN Server
In this article
Information
AmneziaVPN is a free, open-source self-hosted VPN that is installed and managed entirely from a client app on your computer or smartphone — no terminal, no SSH commands, no manual configuration on the server side. It supports multiple censorship-resistant protocols, with AmneziaWG 2.0 (an obfuscated variant of WireGuard) installed by default.
Deployment Features
| ID | Name of Software | Compatible OS | VM | BM | VGPU | GPU | Min CPU (Cores) | Min RAM (GB) | Min HDD/SDD (GB) | Custom Domain | Active |
|---|---|---|---|---|---|---|---|---|---|---|---|
| 576 | Amnezia | Ubuntu 22.04, Ubuntu 24.04, Debian 12, Debian 13 | + | + | + | + | 1 | 1 | 15 | No | ORDER |
For information on deployment features of this software, see this link
Information
Our playbook on this server only marks the deployment as done and adds a tag with a link to this guide. The actual VPN stack is installed from the AmneziaVPN client app on your device, which connects to the server over SSH and deploys everything automatically.
Getting Started after Deploying AmneziaVPN Server
After paying for your order, a notification will be sent to the email address you registered with, indicating that the server is ready to operate. It will contain the VPS IP address, as well as the login and password for connecting. Our clients manage their equipment via the server management panel and API — Invapi.
Authorization data can be found either in the Configuration* >> **Tags tab of the server management panel or in the email sent to you:
- Server IP address: shown on the server page in Invapi.
- SSH login:
root. - SSH password: sent in the email when the server is delivered.
Note
Detailed upstream documentation from the Amnezia team is available here.
Installing the AmneziaVPN Client
Download AmneziaVPN for your platform from the official site (Windows, macOS, Linux, iOS, Android).
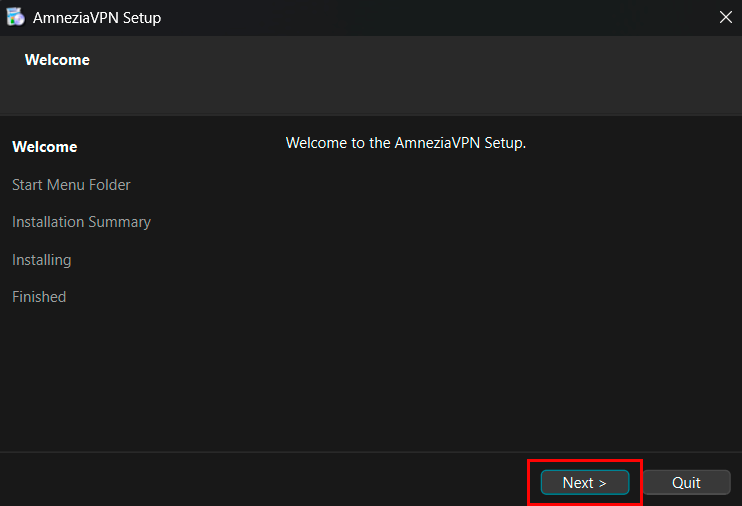
Run the installer and click the Next button on the welcome screen:
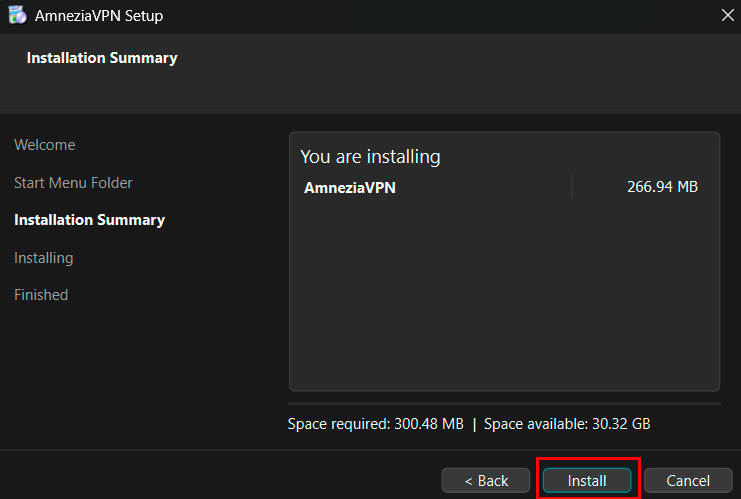
Confirm the installation summary and click the Install button:
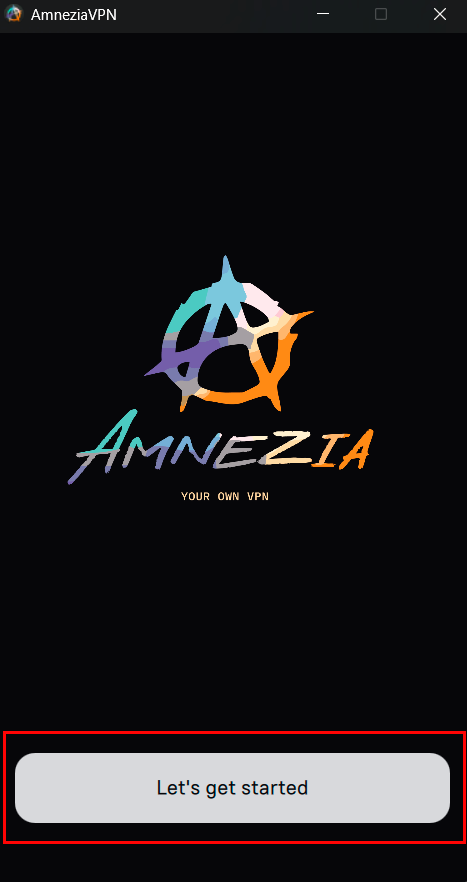
Once installation is complete, launch the app and click the Let's get started button:
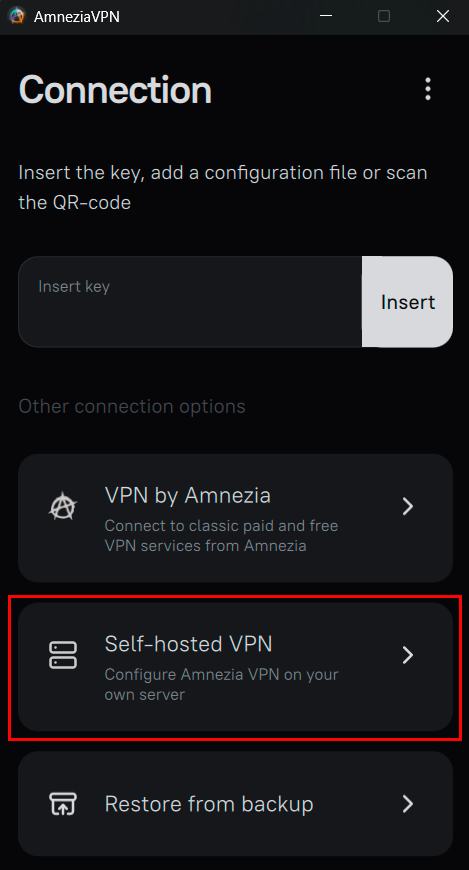
Connecting to Your Server
On the Connection screen, choose Self-hosted VPN:
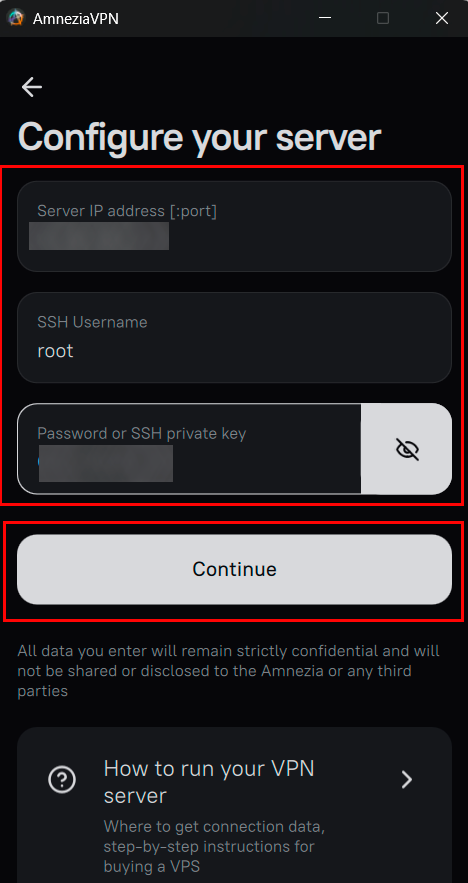
On the Configure your server screen, fill in the fields using the credentials from your Invapi email:
- Server IP address [:port] — your server's public IPv4 (e.g.,
82.38.44.180). Leave the port empty unless your SSH runs on a non-default port. - SSH Username —
root. - Password or SSH private key — the root password from the delivery email, or paste your private SSH key.
Click the Continue button.
Attention
The [:port] part in the first field is the SSH port used to deploy the VPN, not the VPN port itself. On a HOSTKEY-delivered server SSH listens on the default port 22, so you should leave the port empty and just enter the IP address.
Information
All data you enter in the client remains strictly on your device — it is used only to connect to your server over SSH and is not shared with Amnezia or any third parties.
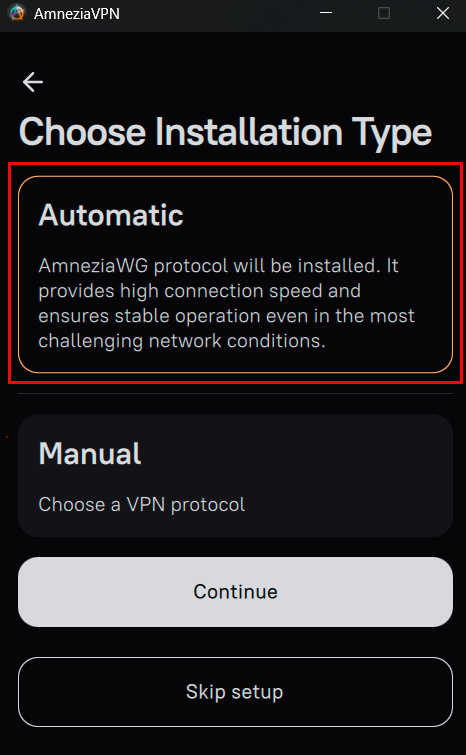
Choosing the Installation Type
Pick how AmneziaVPN should configure the server and click the Continue button:
Automatic— installs only the AmneziaWG protocol (version 2.0). Provides high connection speed and stable operation even under heavy DPI. Recommended for most users. Additional protocols can be added later.Manual— choose a single VPN protocol to install now (others can be added later).Skip setup— creates an empty connection without touching the server. Use this only when you already have Amnezia installed on the server and want to attach the client to it.
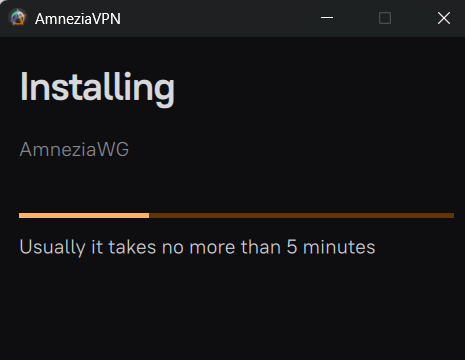
The client then connects to the server over SSH, deploys Docker and the selected protocol container, and configures everything automatically. This usually takes up to 5 minutes.
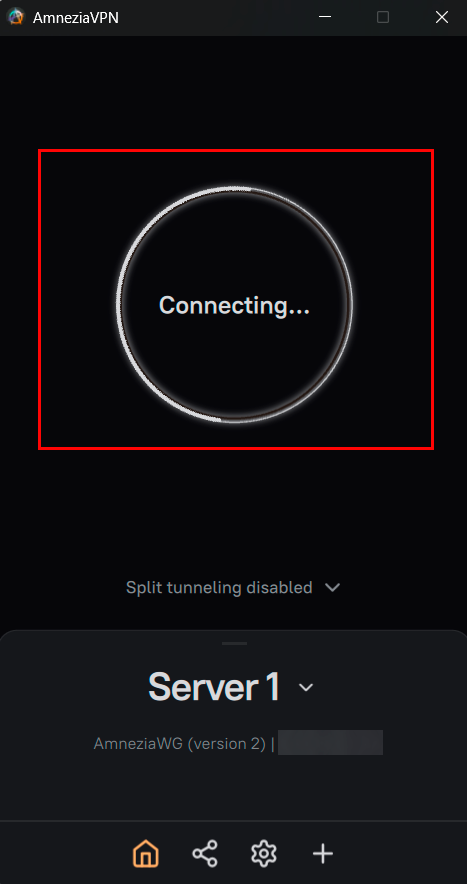
When the process finishes, AmneziaVPN creates a ready-to-use connection. Toggle the big button to connect:
Using and Sharing the VPN
Once a protocol is installed, the connection entry in the app gives you full control over the server, including:
- managing VPN users and access keys;
- adding or removing VPN protocols (AmneziaWG, WireGuard, OpenVPN, Cloak, Shadowsocks, XRay, IPsec);
- installing a SOCKS5 proxy on the server;
- configuring a custom DNS server;
- deploying an SFTP service for file storage;
- hosting a site on the Tor network.
To share access, open the connection, tap the share icon and generate an access key or configuration file for another device. See the upstream guide How to Share VPN Access for details.
Troubleshooting
Attention
Installation hangs or fails with "Timeout connecting to server". Make sure the SSH port is correct (empty/22 by default) and that your current network allows outgoing SSH to the server's IP. On restrictive networks (public Wi-Fi, some mobile operators, networks with strict DPI), the long SSH session required for installation may be interrupted — try from another network.
Attention
Installation succeeds, but the VPN stays on "Connecting...". Almost always this means UDP traffic to the server's VPN port is being blocked or throttled by the network between you and the server. Try installing an alternative protocol from the client (XRay, Cloak, or Shadowsocks) — these are designed to disguise VPN traffic as regular HTTPS and work even when AmneziaWG is blocked.
Full upstream diagnostics (network checks, I-values, ports) are documented here: Self-Hosted Connection via the AmneziaWG Protocol Does Not Work.
Ordering server with AmneziaVPN using the API
To install this software using the API, follow these instructions