OpenPanel
In this article
- OpenPanel. Key Features
- Deployment Features
- OpenPanel Password Considerations
- Getting Started with OpenPanel After Deployment
- Adding a New User
- Configuring a New Web Hosting with OpenAdmin
- Opening SMTP Ports for Setting up a Corporate Email Service
- Ordering OpenPanel using the API
- Self-Installing OpenPanel on Ubuntu
- Easy Setup with a Bash Script (SSH and Invapi Deployment)
Information
OpenPanel is a comprehensive web hosting control panel that provides system administrators and web hosting providers with a wide range of capabilities for managing servers, creating user accounts, deploying websites, configuring databases, and more.
OpenPanel. Key Features
- User Account Management: Enables the creation, editing, and deletion of user accounts. Administrators can allocate various hosting packages with disk space, traffic, and other parameter restrictions, as well as configure resource quotas for each user, such as processor time, memory, and more.
- Domain Management: Facilitates the addition, editing, and deletion of domains, assigning them to users, configuring parked pages, and redirecting domains. Subdomains and wildcard domains are supported.
- MySQL Databases: Provides tools for creating, editing, and deleting MySQL databases, assigning them to users. Administrators can manage database users and privileges, create backups, and restore databases.
- Script Installer: Simplifies the installation of popular Content Management Systems (CMS) such as WordPress, Joomla, and Drupal, forums like phpBB and SMF, galleries, blogs, stores, and other web applications.
- FTP Management: Enables the creation and management of FTP user accounts, configuring permissions and quotas for FTP access.
- Security: Includes protection against brute force attacks, IP address management (blocking, allowed lists), SSH key management for secure access, and support for SSL/TLS encryption to safeguard traffic.
Deployment Features
| ID | Compatible OS | VM | BM | VGPU | GPU | Min CPU (Cores) | Min RAM (Gb) | Min HDD/SDD (Gb) | Active |
|---|---|---|---|---|---|---|---|---|---|
| 105 | Ubuntu 22.04 | + | + | - | - | 2 | 2 | - | Yes |
- Installation time is approximately 15-30 minutes, inclusive of OS installation.
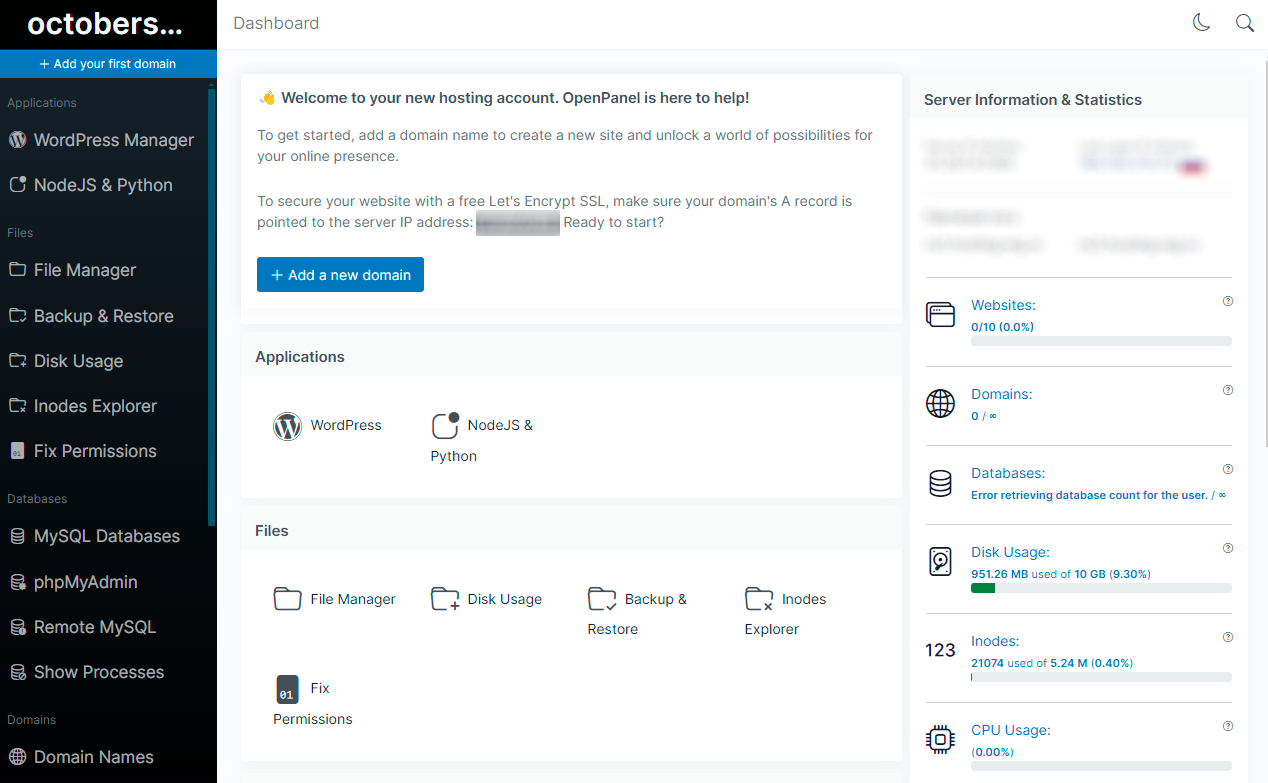
- Access to OpenPanel is facilitated through the system utility OpenAdmin. Following successful login to OpenAdmin, a new user account must be manually created for access to OpenPanel.
- Web panel management resides on port 2083. Panel management can also be performed from the host's command line using the
opencliutility. Detailed documentation on utilizing the web panel and opencli is available on the official website. - Upon installation, navigate to:
https://<Server_ID_from_Invapi>.hostkey.in:2087
Note
Unless otherwise specified, by default we install the latest release version of software from the developer's website or operating system repositories.
OpenPanel Password Considerations
Information
When working with OpenPanel, there's a distinction between passwords for root server access and passwords for logging into the web interface.
How it Works:
-
Server Root Password:
- Stored in its original form, including all special characters;
- Example:
AsD!@#DsA; - Used for direct server access.
-
OpenPanel Web Interface Password:
- Requires a version of the password without special characters;
- Example:
AsDDsA; - Password length must be between 5 and 20 characters;
- Only used for logging into the web interface.
Password Creation Rules:
- ✅ Uppercase letters allowed;
- ✅ Lowercase letters allowed;
- ✅ Numbers allowed;
- ❌ Special characters (!@#$% etc.) are not supported in the web interface.
Password Transformation Example:
Attention
- Changing the password only affects authentication through the web interface;
- The original root password on the server remains unchanged;
- Always use the full version of the password with special characters when connecting directly to the server;
- Use the version of the password without special characters but maintain letter capitalization when logging in via the web interface.
Getting Started with OpenPanel After Deployment
After payment for the order received on the email address registered during registration, you will receive a notification about the server's readiness to work. This notification will include the VPS IP address as well as login and password credentials for connection. Our company's clients manage their servers through the servers control panel and API — Invapi.
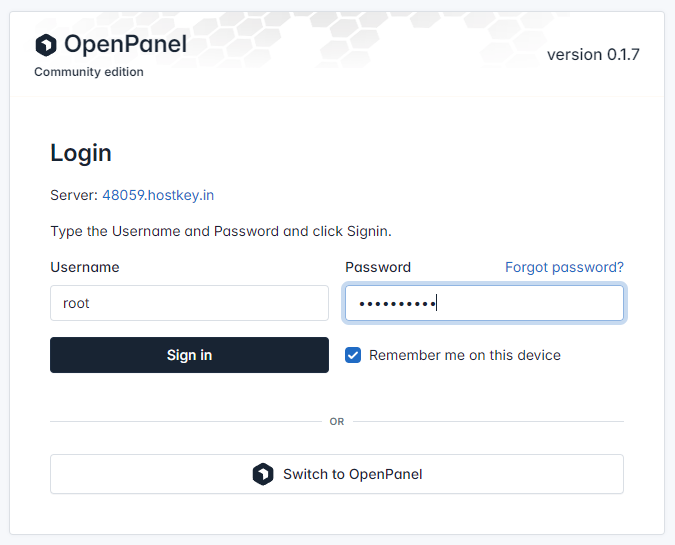
After clicking on the webpanel link, you will be directed to an authentication window. Here, please use the credentials provided in the Info >> Tags tab. The login is root, and the password is specified in the opencli_root tag.
The authentication data can be found either in the Info >> Tags tab of the server management panel or in the email sent:
- Link for accessing OpenPanel web interface: in the webpanel tag. The exact link, in the format
https://<Server_ID_from_Invapi>.hostkey.in:2087, is sent via email upon server delivery; - Login:
admin; - Password: Sent to your email address after the server is ready for use following software deployment.
After clicking on the link, you will need to authenticate in OpenAdmin:

The OpenAdmin start menu contains the following categories:
- Dashboard: The main page of the control panel, which provides a general overview of the system, including the number of user accounts, installed packages, resource usage, and operational notifications.
- Users: The section for managing user accounts. Here you can create, edit, and delete accounts, assign them hosting plans, set resource limits, manage domains, and databases.
- Hostings Plans: Allows you to configure and manage hosting plans, which define the limits and resources for user accounts, such as disk space, traffic, the number of databases, and other parameters.
- Domains: Designed for managing domains and their related settings.
- Backups: Tools for creating backups of user accounts, websites, databases, and the entire system. You can also restore from backups and schedule automatic backups here.
- Settings:
- General Settings: Section for setting general parameters of the control panel. Here you can manage language preferences, set the time zone, configure notifications, and other basic parameters that affect the overall operation of the system.
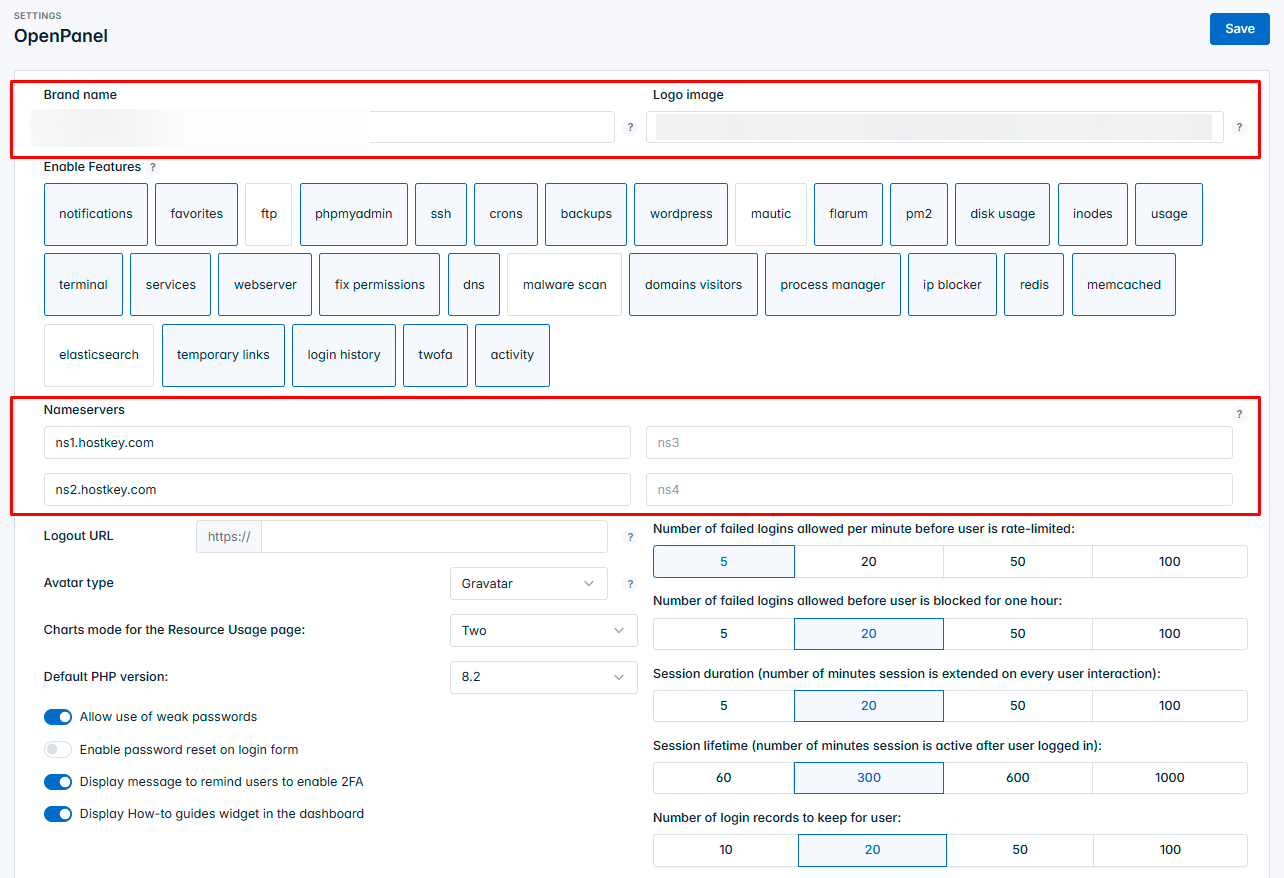
- OpenPanel: OpenPanel settings, including interface configuration, optimization of the control panel's performance, management of updates, and other components related to the platform.
- OpenAdmin: Settings and parameters of the OpenAdmin panel itself, including access management, API configuration, parameters for configuring logging and monitoring the operation of the administrative panel.
- Services:
- Service Status: Section displaying the current status of various services running on the server, such as web servers, databases, email services, and other applications. You can check the status and health of all critical services here.
- Nginx Configuration: Allows you to configure Nginx web server parameters, such as virtual host settings, proxy rules, performance management, and other parameters related to the server.
- Docker Configuration: Section for configuring containerization using Docker. Here you can manage images, containers, network settings, and other parameters related to launching and administering Docker containers.
- Resource Allocation: Tools for managing resource allocation, such as CPU time, RAM, and disk space for various services and users.
- View Log Files: Section for viewing system and service log files. You can monitor errors, warnings, and other information necessary for diagnosing and analyzing the system's operation here.
- Security:
- Firewall: Firewall settings to protect the system from unauthorized access. Includes creating rules for incoming and outgoing traffic, blocking IP addresses, and configuring port access.
- Advanced:
- Change Root Password: Tool for changing the root user password, which provides full access to the system and is a crucial part of server security.
- SSH Access: Configuring SSH access for remote server management. Here you can allow or restrict access, and manage keys and authentication methods.
- OpenPanel Cron Jobs: Managing cron jobs for automating various processes in the system, such as executing scripts and regular tasks.
- Server Time: Setting the time and time zone on the server. Includes synchronizing time via NTP (Network Time Protocol) and setting local time zones.
Adding a New User
To create a new user, follow these steps:
- In the main menu, select the Users section.
- On the user list page, click the
Create your first userbutton (when creating the first user, thenNew User). - Fill in the following fields in the form that appears:
- Email: Enter the user's active email address.
- Plan: Select an appropriate hosting plan from the dropdown list (determines disk space limits, traffic, etc.).
- Username: Enter a unique username for the new account.
- Password: Choose and enter a secure password for the account.


After filling in all required fields, click the Create User button to create the account. The new user will be added and appear in the user list:

Configuring a New Web Hosting with OpenAdmin
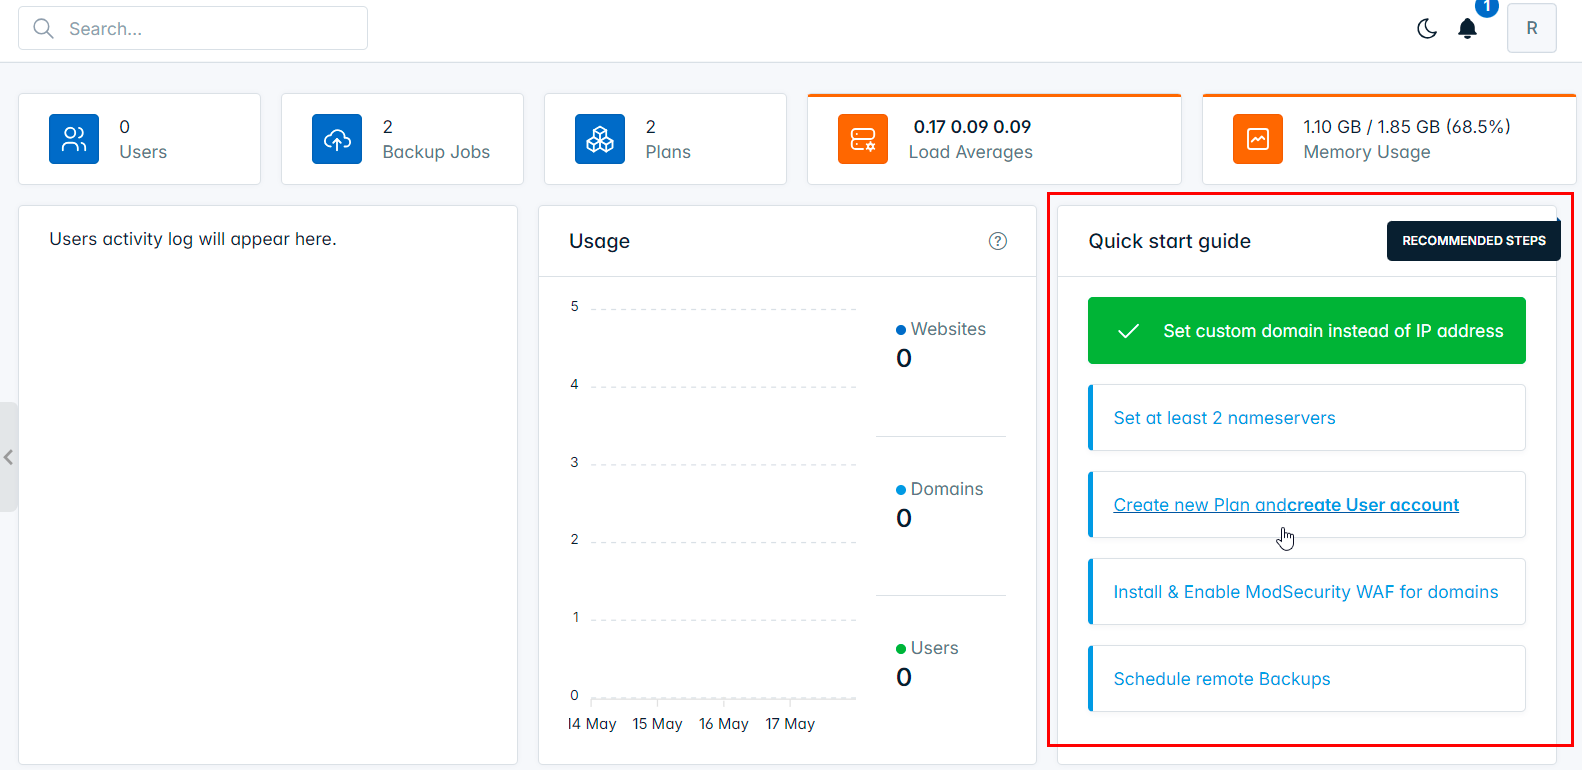
On the startup page of the OpenPanel web interface, there is an interface for configuring new hosting:

The configuration process consists of several stages:
- Set custom domain instead of IP address: Instead of using a numerical IP address, which is difficult to remember, this step allows you to assign a user-friendly domain name to the website or server. By default, it's set to
.hostkey.in; - Set at least 2 nameservers: This step involves configuring at least two DNS servers (name servers) to ensure high availability. Name servers are responsible for resolving domain names into IP addresses;
- Create new Plan and create User account: Here, you need to create a new hosting plan that defines the limits and resources for the account (disk space, traffic, databases, etc.). After that, you need to create a user account and assign this plan to it.

Information
Detailed information on the main OpenPanel settings can be found in the developer documentation.
Opening SMTP Ports for Setting up a Corporate Email Service
For security reasons, outgoing TCP ports (25, 24, 2525, 387, 465, and 587) and UDP port (5060) are blocked by default on all VPS servers. This measure is intended to prevent the sending of spam. To remove the blocking, follow these steps:
-
Record your domain zone. The A-record of the domain must point to the IP address of your server in HOSTKEY.
-
Submit a request to technical support indicating that you need to open outgoing SMTP ports for sending mail and the domain name from which (or subdomain) it will be sent.
Attention
We reserve the right to ask you additional questions about the domain name and its intended use.
- After analyzing the domain name, we will make a decision on opening the ports for SMTP operation and notify you.
Ordering OpenPanel using the API
To install this software using the API, follow these instructions.
Self-Installing OpenPanel on Ubuntu
-
Download the Installation Script
-
Replace Tabs with Spaces
-
Modify the Docker Command
-
Run the Installation Script
Remember to replace:
<admin_pass>: Your admin password for authentication.<hostname>: Hostname for you server in FQDN format. Example:35648.hostkey.net.
See full list of the install options here
Attention
- No SSL Certificate: This setup uses HTTP (port 80) without SSL for default. This is not recommended for production environments . Consider obtaining and configuring an SSL certificate for secure communication.
- Security Risk: Running on HTTP exposes your data to potential interception and man-in-the-middle attacks. Exercise extreme caution if you choose to use this configuration.
Easy Setup with a Bash Script (SSH and Invapi Deployment)
#!/bin/bash

# Download installation script
wget https://openpanel.org -O /root/installation_script.sh

# Make the script executable
chmod +x /root/installation_script.sh

# Replace tabs with spaces
sed -i 's/\t/    /g' /root/installation_script.sh

# Remove "-it" from Docker command
sed -i "s/debug_log docker run -it --rm /debug_log docker run --rm /g" /root/installation_script.sh

# Run the installation script
bash /root/installation_script.sh --username=admin --password=<admin_pass>

echo "OpenPanel installation completed!"
Use script on BASH commandline
- Connect to your server via SSH.
- Save the script as a
.shfile (e.g.,install.sh) and set admin password<admin_pass>. - Make it executable:
chmod +x install.sh. -
Run the script on your server:
./install.sh. -
See in comandline text like this:
-
Obtain URL (in our example
http://91.237.249.214:2087/) for OpenAdmin connect and use it in browser.
Using the Script During Server Reinstallation
- Select the desired OS in the Reinstall >> Operating System tab.
- Paste the script for the supported OS into the Post-install script field in the Advanced options tab.
- Start the reinstallation by clicking the button
Reinstall this server