Portainer
In this article
Information
Portainer is a container management tool that simplifies the development, deployment, and monitoring of applications. It uses OS-level virtualization technology to ensure high performance and efficiency. With Portainer, you can easily create, run, scale, and manage containers through the command line or an intuitive graphical interface.
Portainer. Key Features
Portainer provides full control over your container infrastructure. Here are the key features we offer:
- Container management: Create, start, stop, restart, and remove containers with minimal effort.
- Image management: Work with images used for creating containers. With us, you can create, store, and manage images in a convenient interface.
- Resource isolation: We ensure resource isolation between applications and containers to keep your system stable and secure.
- Network management: Configure and manage container network interfaces, including routing and monitoring.
- Storage management: Manage data used by containers with tools integrated into Portainer.
- Version control: We help you manage versions of images and containers, simplifying the application update process.
- Security management: Set access rights, monitor security, and encrypt data to keep your infrastructure secure.
Deployment Features
| ID | Name of Software | Compatible OS | VM | BM | VGPU | GPU | Min CPU (Cores) | Min RAM (GB) | Min HDD/SDD (GB) | Custom Domain | Active |
|---|---|---|---|---|---|---|---|---|---|---|---|
| 19 | Portainer | Ubuntu 22.04, Debian 11, AlmaLinux 8, AlmaLinux 9, RockyLinux 8, RockyLinux 9, CentOS 9 STREAM, Debian 12, Ubuntu 24.04 | + | - | + | + | 1 | 1 | - | No | ORDER |
- Installation time - 10 minutes along with OS.
- Installed software:
- Docker CE;
- Docker Compose;
- Portainer
Note
Unless otherwise specified, by default we install the latest release version of the software from the developer's website or operating system repositories.
Getting Started after Deploying Portainer
After payment, a notification will be sent to the email address provided during registration indicating that the server is ready for use. The message will include the VPS IP address, as well as login and password details for connection. Our company's clients manage equipment through the server control panel and API — Invapi.
The authorization data can be found either in the Configuration* >> **Tags tab of the server management panel or in the sent email:
- Link to access Docker's web interface:
http://<server_ip>:9000/.
The server IP address can be viewed in the Network tab.
Navigate to the link and create an administrator account within 30 minutes after server deployment. Fill in the fields Username, Password, and Confirm password, then click the button:
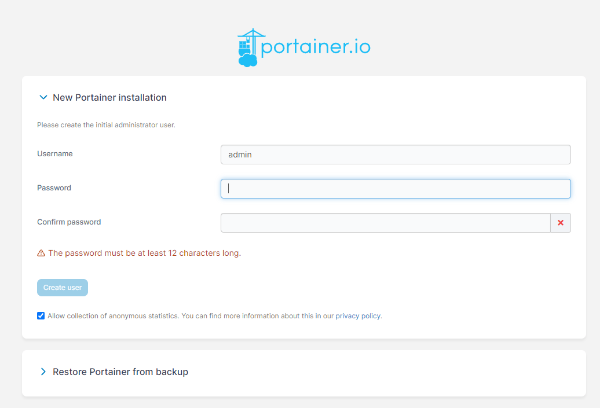
Important
The timer for creating the administrator counts from the moment the Portainer container starts (i.e. from deployment), not from when the server was handed over to you. Therefore, on your first visit you may immediately see the message New Portainer installation — Your Portainer instance timed out for security purposes. This is a built-in safeguard, not an error.

To reopen the administrator creation form, restart the Portainer container via SSH and immediately refresh the page:
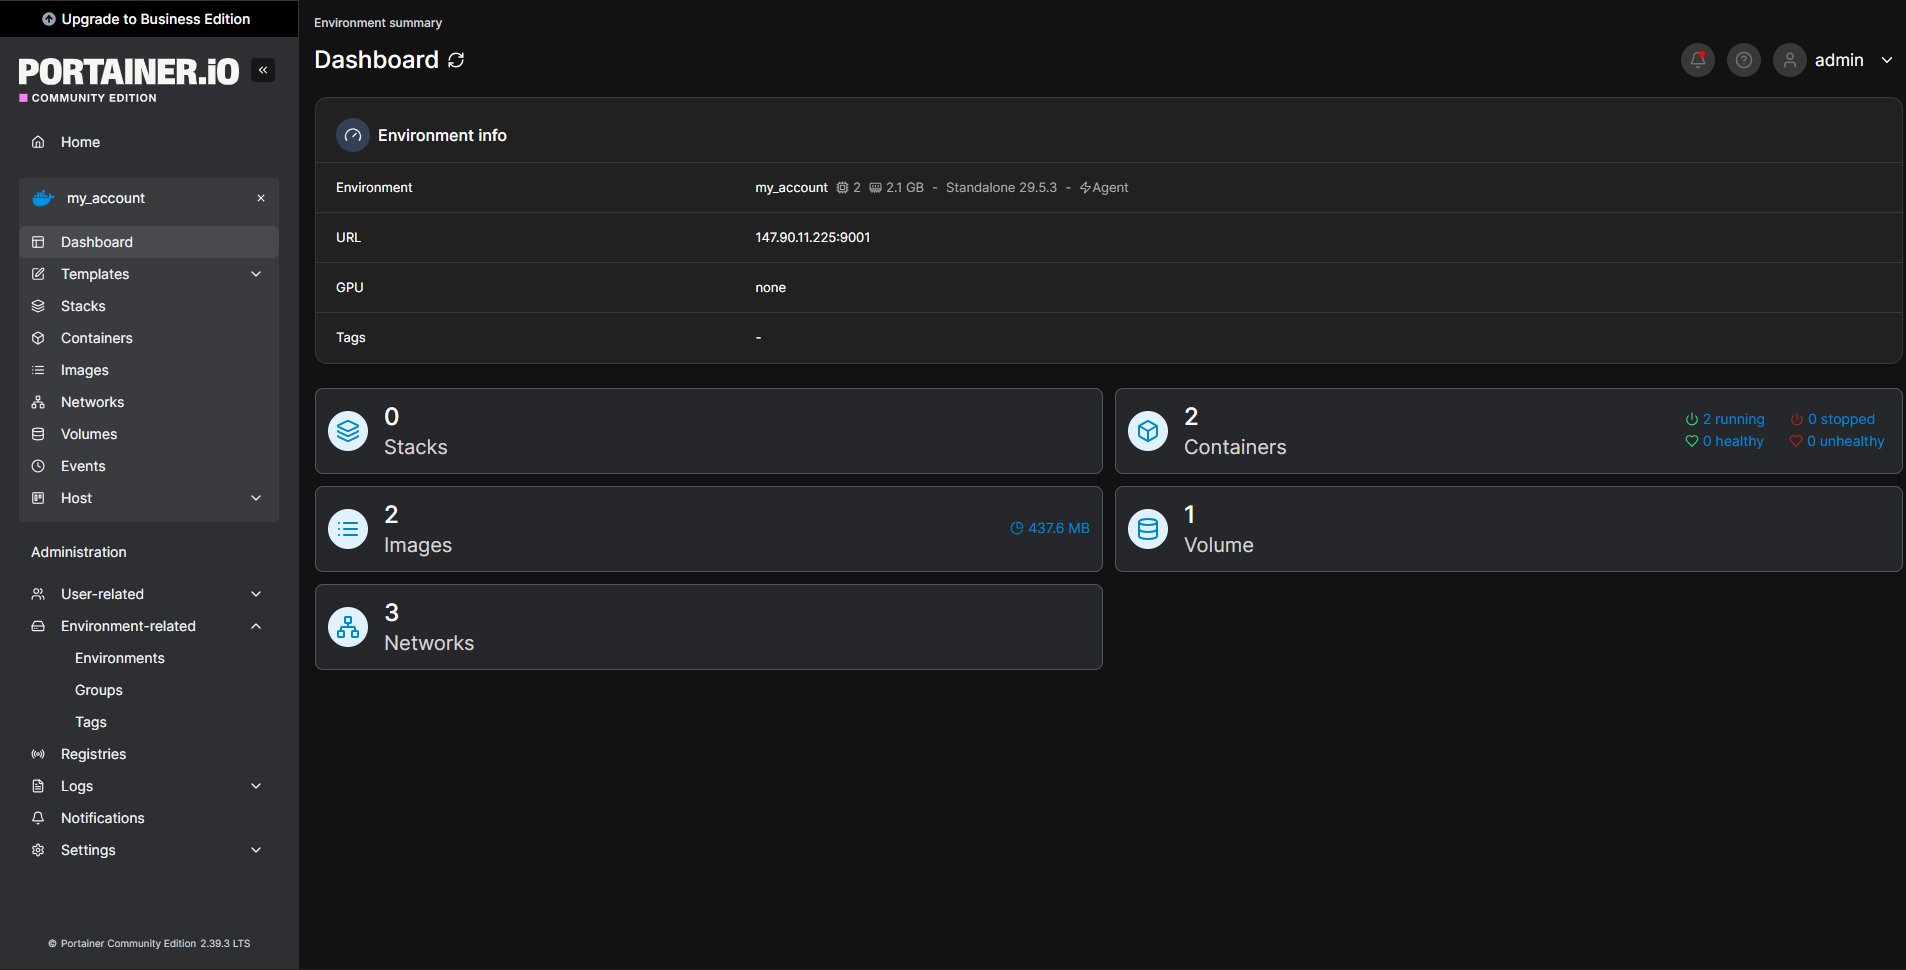
After successful authorization, you can start working with the service. Portainer's settings are grouped in the side menu under the Administration section as follows:
- User-related — manage users, teams, and roles with access rights;
- Environment-related — manage environments, i.e. connected hosts and clusters, their groups and tags;
- Registries — configure and manage access to container registries (Docker registry);
- Logs — logs of authentication events and user activity;
- Notifications — configure and view system notifications;
- Settings — general Portainer settings (General), authentication settings (Authentication), Edge Compute, and a link to help (Get Help).
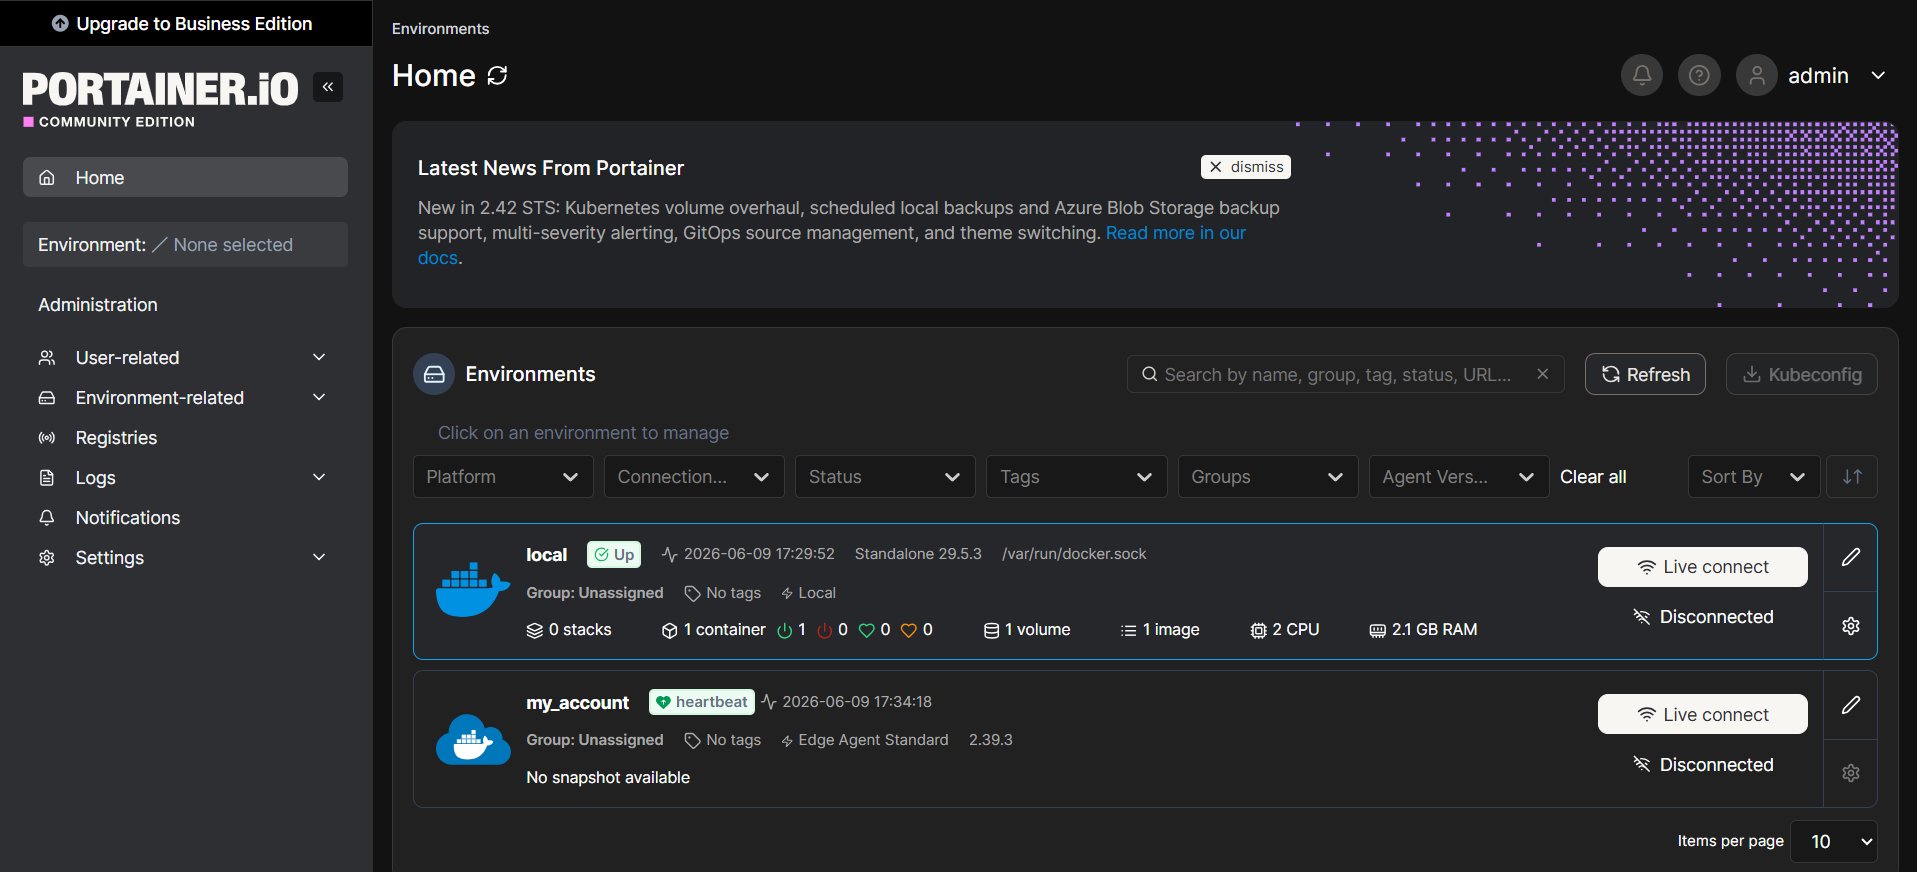
The server on which Portainer is deployed is already connected and appears on the Home tab as the local environment. To start working with containers, images, volumes, and networks, just click its card — for a single server, nothing else needs to be connected.
Adding a New Environment
If you have several servers, Portainer lets you manage them all from a single panel — each additional Docker host is connected as a separate environment.
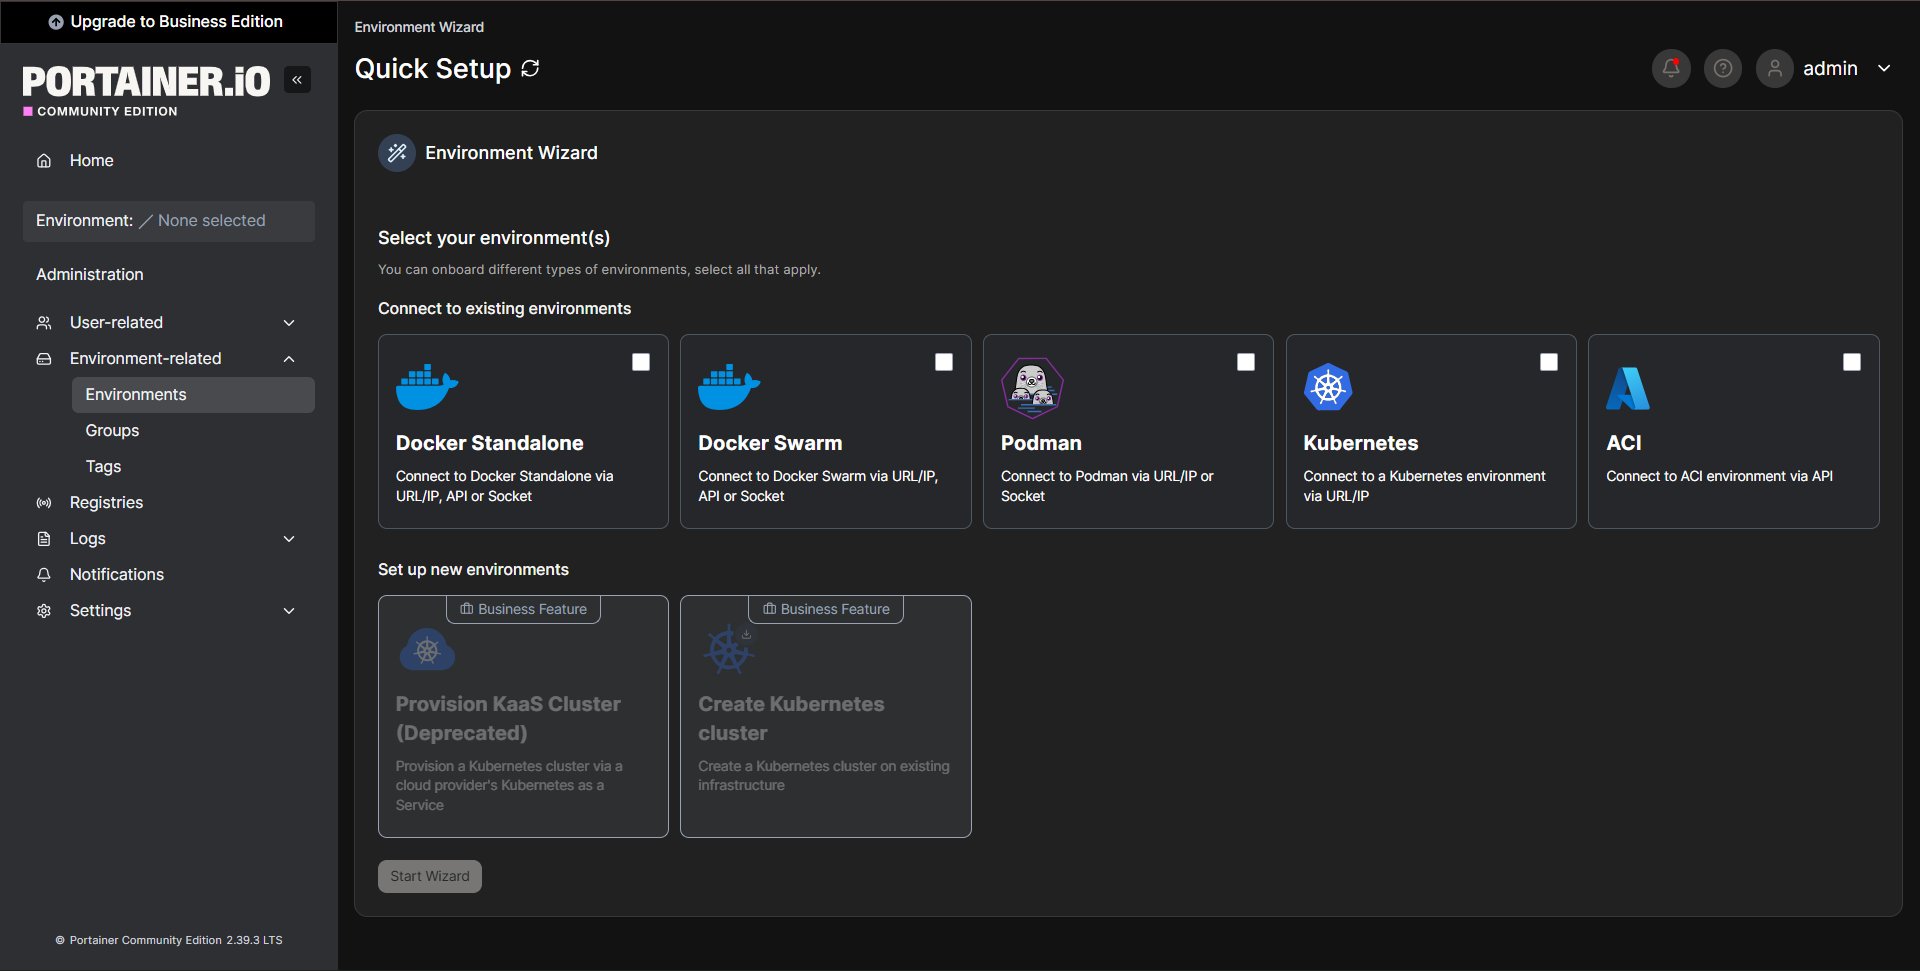
On the Home tab, click the Add environment button (or go to Environment-related >> Environments). The Environment Wizard will open. Select the Docker Standalone environment type and click the Start Wizard button:
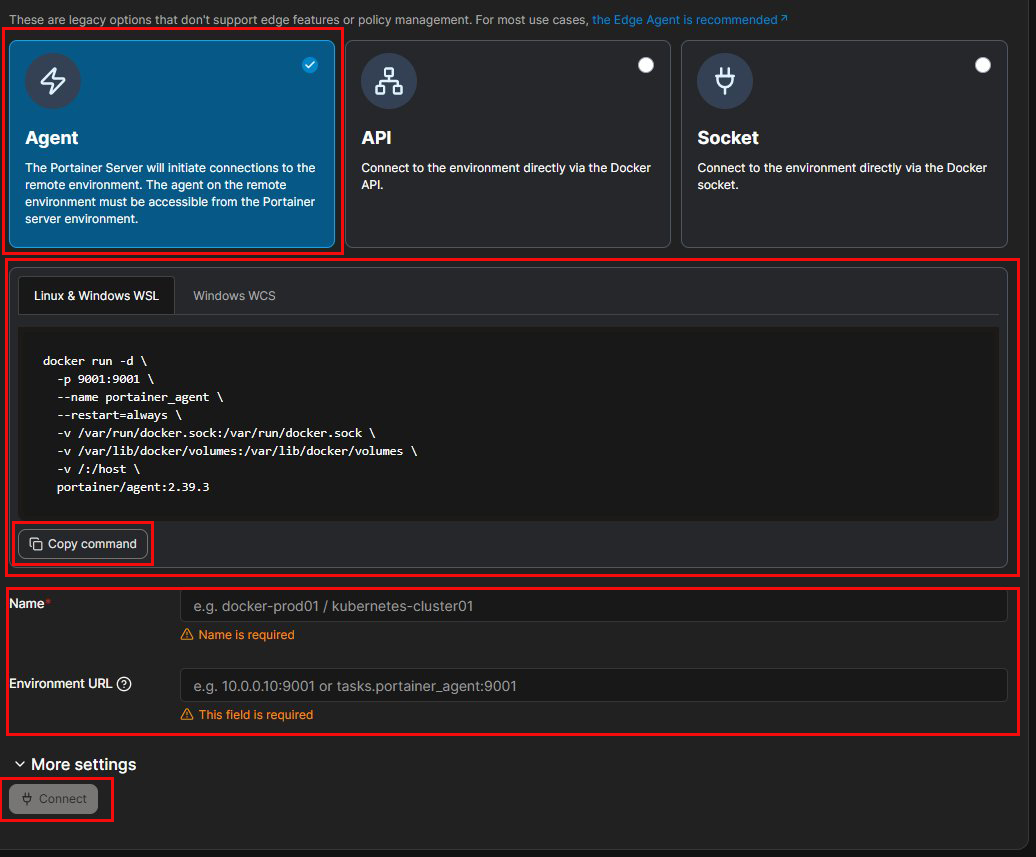
In the next step, Portainer offers a connection method. By default, Edge Agent Standard is selected — it works through a secure reverse tunnel and is intended for hosts that are not directly reachable (for example, behind NAT). For a direct connection, expand the More options block and choose Agent: in this case the Portainer server itself connects to the agent at the specified address and port. Portainer immediately displays a ready-made agent installation command — click the Copy command button:
Connect via SSH to the host you are adding:
Paste the copied command into the terminal — it starts the portainer_agent container and opens port 9001 (the command is pinned to your Portainer version):
docker run -d \
  -p 9001:9001 \
  --name portainer_agent \
  --restart=always \
  -v /var/run/docker.sock:/var/run/docker.sock \
  -v /var/lib/docker/volumes:/var/lib/docker/volumes \
  -v /:/host \
  portainer/agent:2.39.3
Return to the wizard and fill in two fields: Name — an arbitrary environment name (for example, docker-agent), and Environment URL — the agent address in the format <server_ip>:9001. Then click the Connect button.
Tip
If the agent and the Portainer server are on the same host and clicking Connect produces a connection error via the public IP address, enter the Docker internal gateway address in the Environment URL field — 172.17.0.1:9001. This is the same host as seen from Docker.
After connecting, the environment appears in the list, and you can manage it from the Dashboard tab: containers, images, volumes, networks, and stacks of the selected host. You can view all environments and switch between them on the Home tab of the web interface.
Detailed information on basic Portainer settings is available in the developer documentation.
Ordering a Portainer Server via API
To install this software using the API, follow this instruction.