Zammad
In this article
Information
Zammad is a popular open-source web system for helpdesk management and customer support organization. Zammad allows teams to track, plan, and manage projects through a flexible and intuitive interface.
Zammad Key Features
- Open Source: You can download, install, and use the system on your own servers absolutely free of charge.
- Omnichannel: The platform allows you to manage all communications (email, telephony, chats, social media) from a single window.
- Automation and Security: Zammad provides workflow automation features, SLA configurations, and security settings required for modern business.
- Extensive Integrations: The system easily integrates with popular productivity tools such as Slack, Microsoft 365, and various webhooks.
- Thoughtful Interface: Developers position the system as a powerful yet non-overwhelming platform that helps keep all inquiries under control.
Deployment Features
| ID | Name of Software | Compatible OS | VM | BM | VGPU | GPU | Min CPU (Cores) | Min RAM (GB) | Min HDD/SDD (GB) | Custom Domain | Active |
|---|---|---|---|---|---|---|---|---|---|---|---|
| 614 | Zammad | Ubuntu 22.04 | + | + | + | + | 2 | 6 | 20 | No | ORDER |
You can find information regarding the deployment features of this software at this link
Note
Unless otherwise specified, we install the latest stable version of Plane from the official project repository by default.
Getting Started After Zammad Deployment
After payment is processed, a notification regarding server readiness will be sent to the email address provided during registration. It will contain the VPS IP address, as well as the login and password for connection. Customers can manage their hardware via the server control panel and API — Invapi.
Authorization credentials can be found in either the Configuration >> Tags tab of the server control panel or in the sent email:
- Zammad Web Interface Access Link: located in the webpanel tag;
- Login and Password for server management: sent to your email address upon server delivery.
Creating a Zammad Administrator Account
Once Zammad is successfully deployed on your server, you can start using the platform by following these steps:
-
Open a web browser and navigate to the link from the webpanel tag;
-
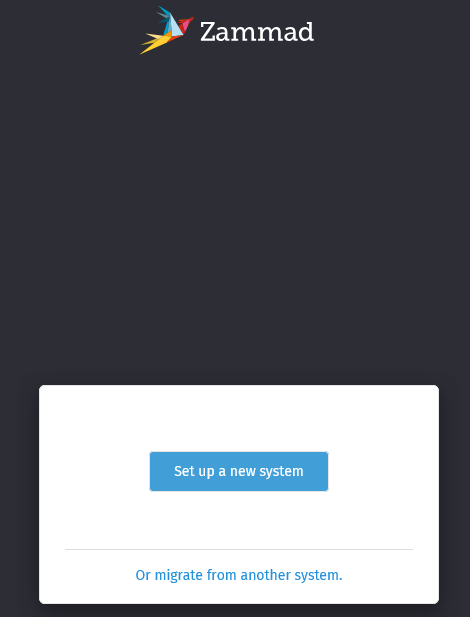
Upon first launch, you will be prompted to create an administrator account. In the window that opens, click Set up a new system if this is your first time using the panel.
-
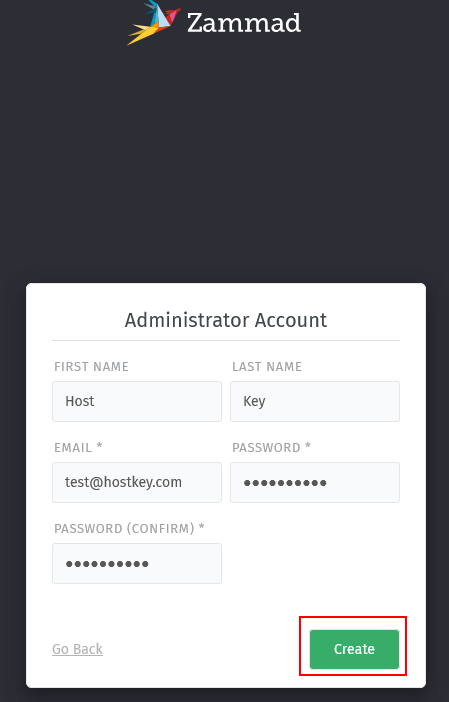
On the "Setup your Plane Instance" page, you must fill in the following fields:
- First name and Last name - your name and surname
- Email - your email address
- Password and Confirm password - create and confirm a password
- After filling in all fields, click the
Createbutton.
-
On the next step, you must link the account to your email address. Fill in the required fields and click
Connect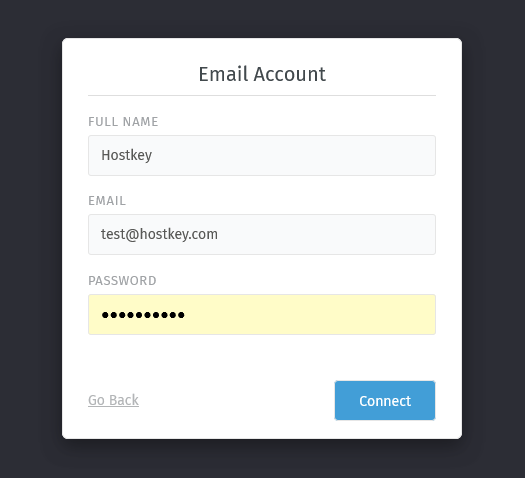
-
In the window that opens, you can upload a logo and specify your company name. Click
Next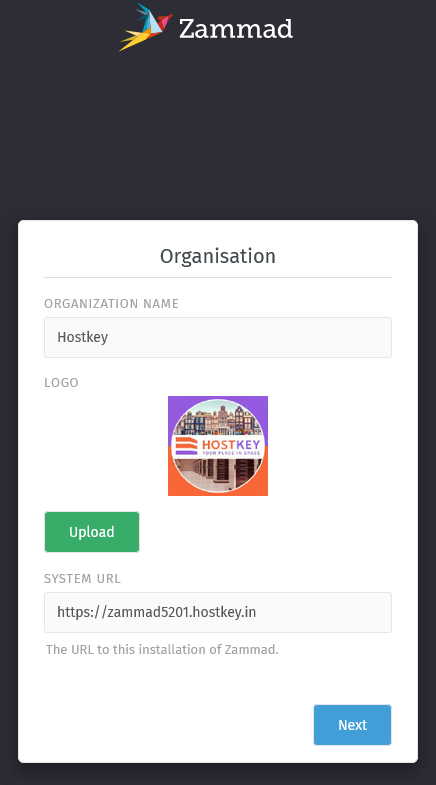
Zammad Dashboard
After logging into the panel, a dashboard is displayed containing statistical information on completed work: number of tickets, response speed, and incoming sources.
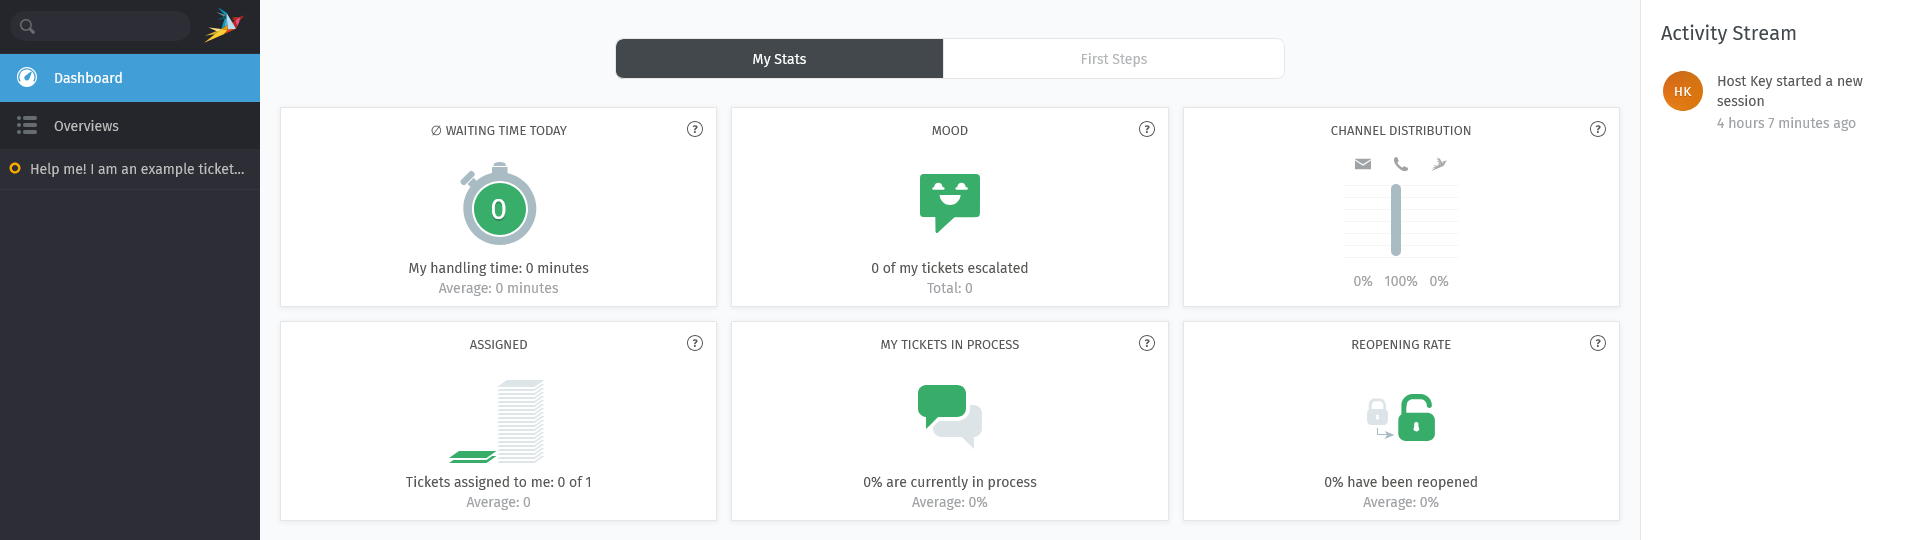
When navigating to the Overviews section, you can see the ticket list categorized by status: pending, open, or escalated.

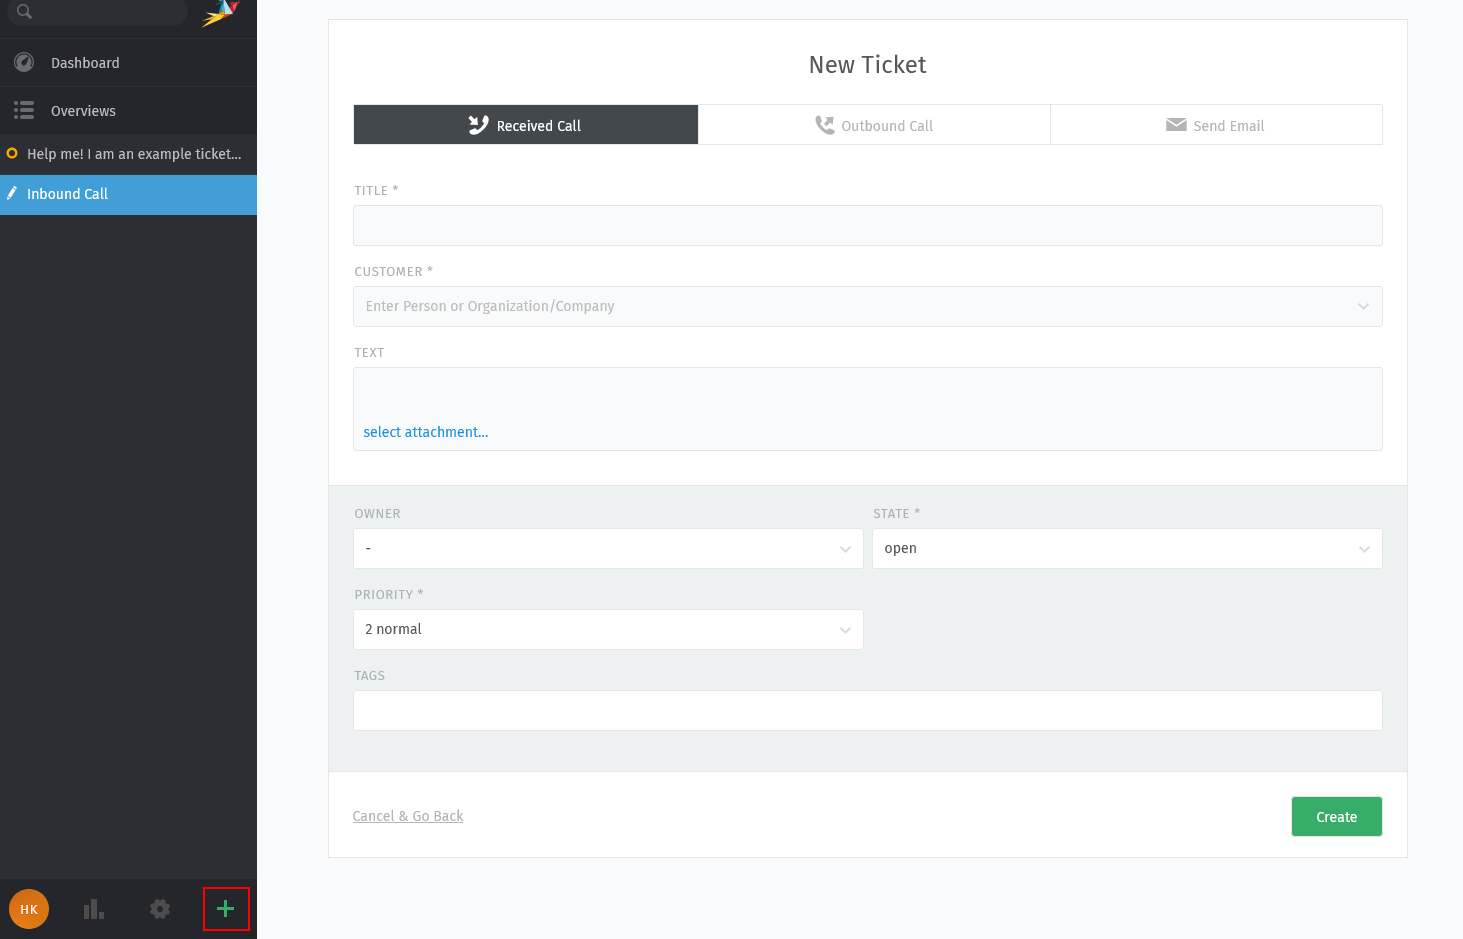
In the bottom-left corner of the screen, there is a ~+~button that opens the quick-add menu for tickets.
To access documentation, change themes, or modify profile settings, you can use the profile button located in the bottom-left corner of the screen.

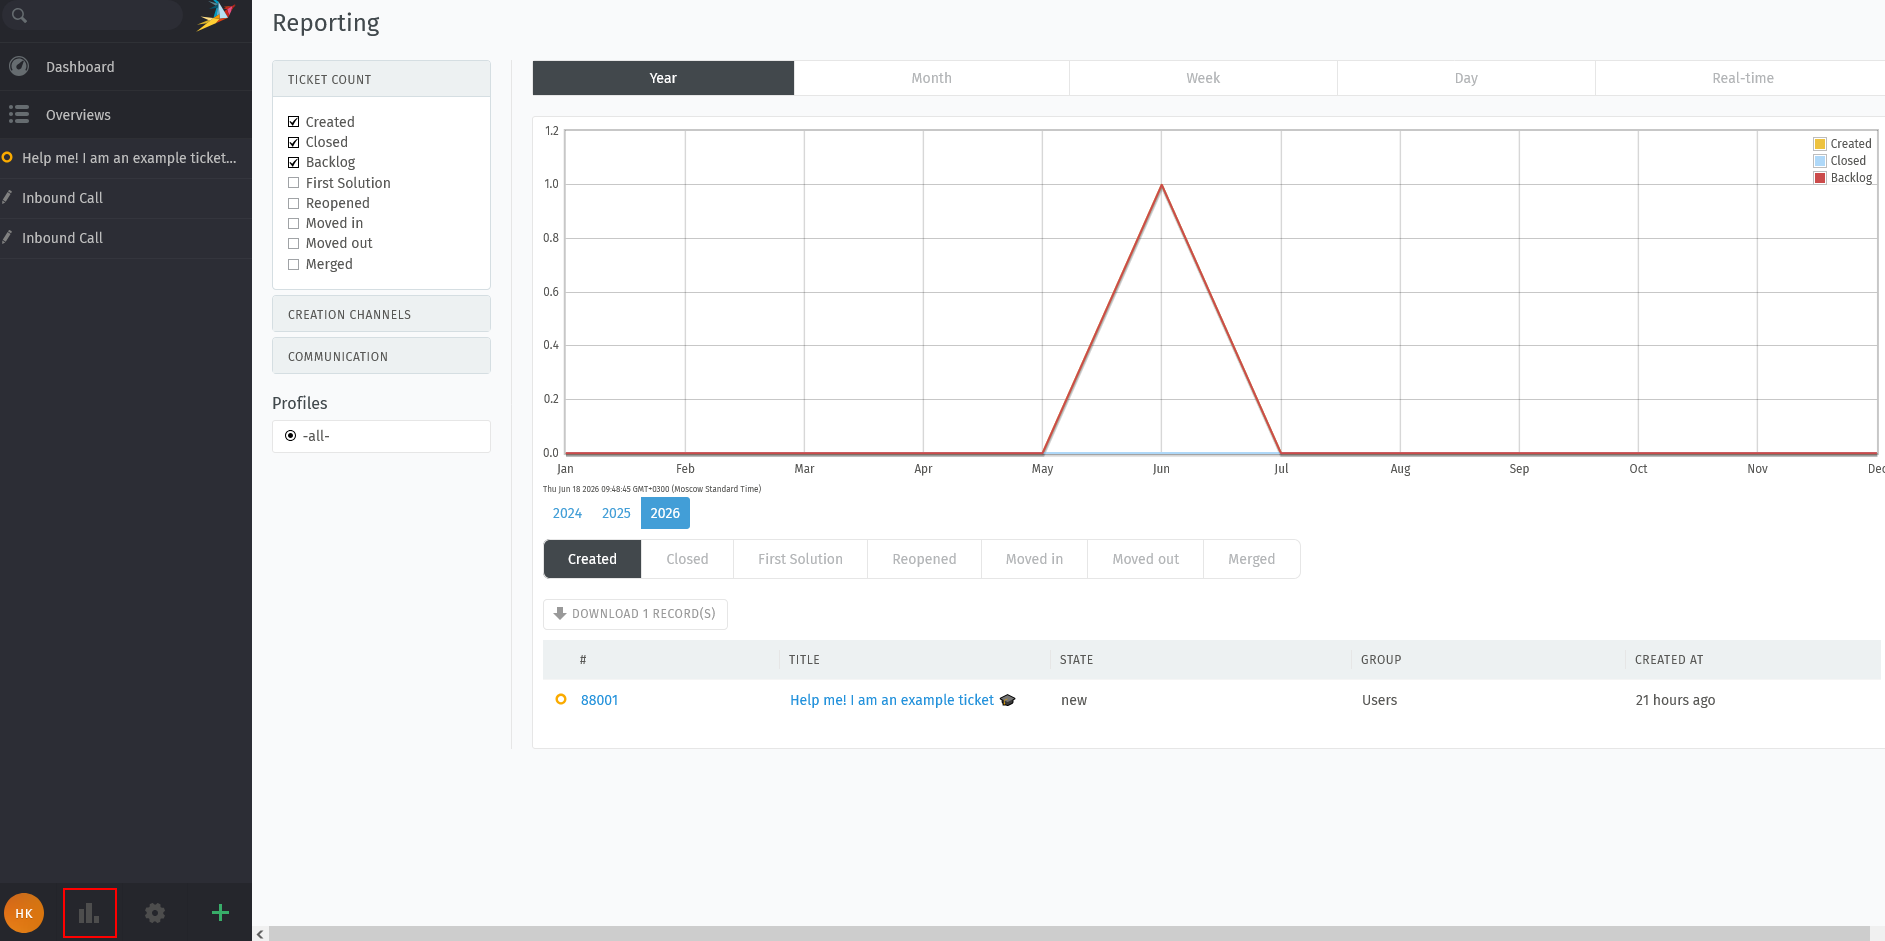
The chart icon activates a graph window for analyzing completed work.
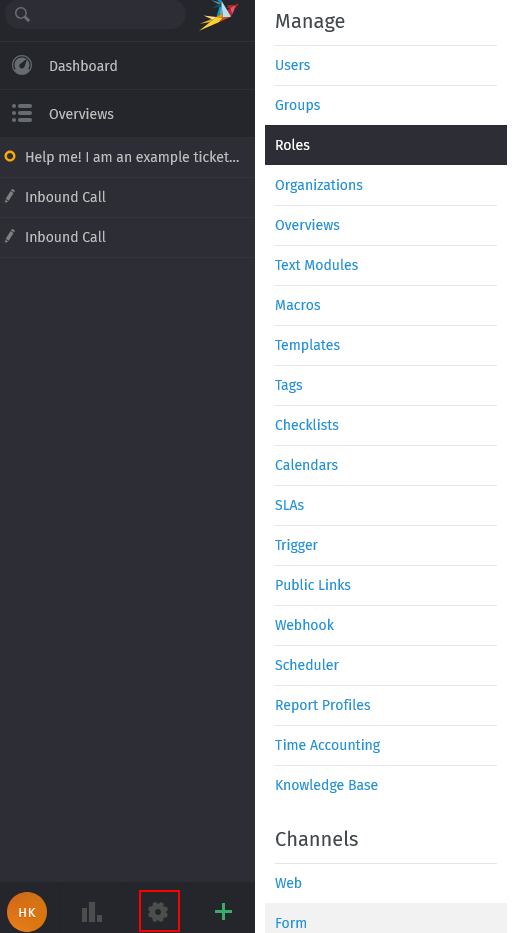
To apply custom settings for various operational parameters, use the gear icon button.
Note
Detailed information regarding core Zammad settings can be found in the developer documentation.