Mounting an ISO Image on a VPS
In this article
Mounting an Existing ISO Image
Information
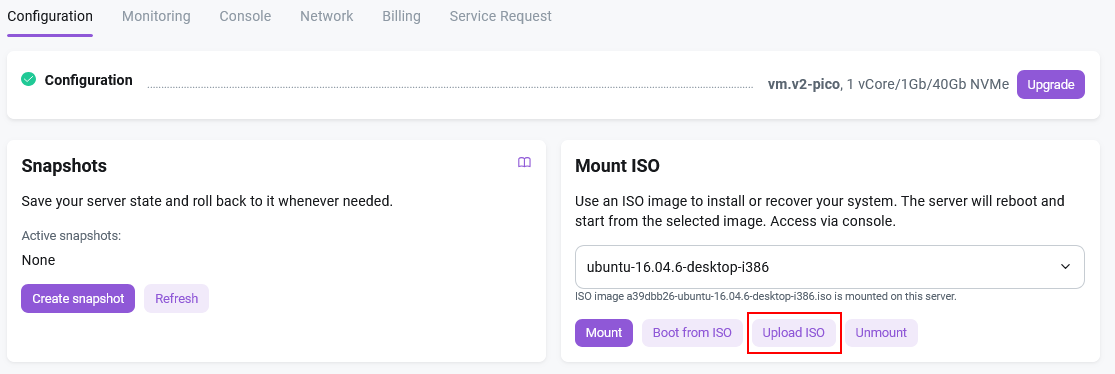
You can mount an ISO in the Configuration tab of the server control panel, under the Mount ISO section.
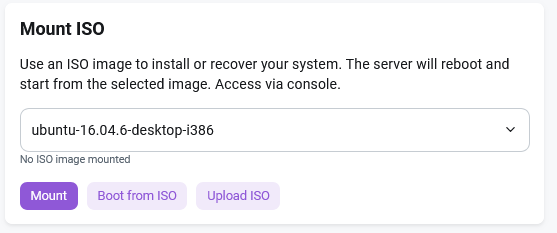
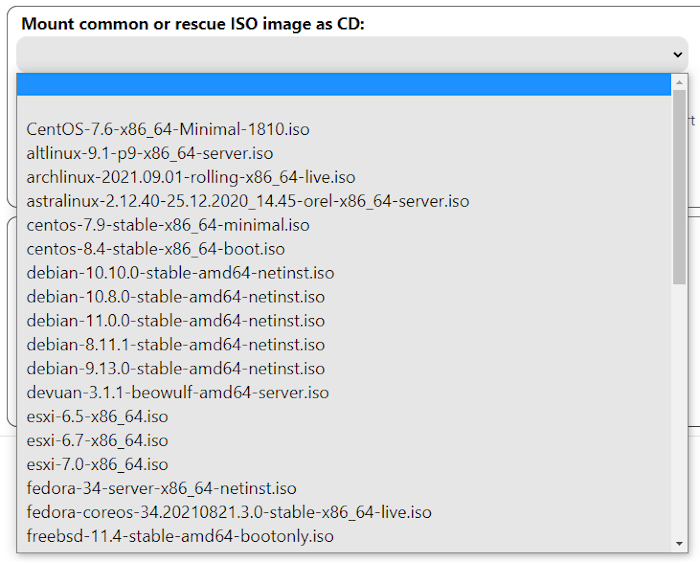
The Mount ISO section is available only when managing virtual servers and Supermicro hardware with X10 and X11 motherboards (and in some cases X9). In this tab, you can select an ISO with the required operating system from the dropdown list:
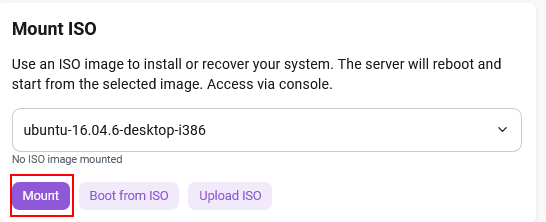
After selecting the operating system, click the Mount button:
Then, launch the console using the Console tab.
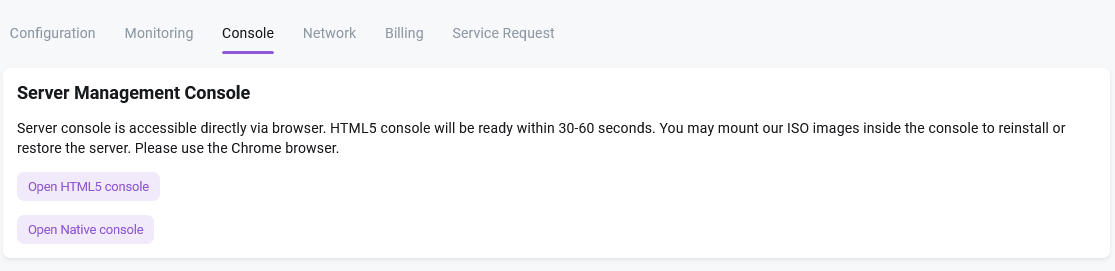
The server management console is a tool designed for administering, monitoring, and configuring server hardware or software.
Information
Uploading Custom ISO Images
Information
Uploading a custom ISO image to a virtual server allows you to install non-standard operating systems, specific distribution versions, and use recovery or diagnostic tools.
Attention
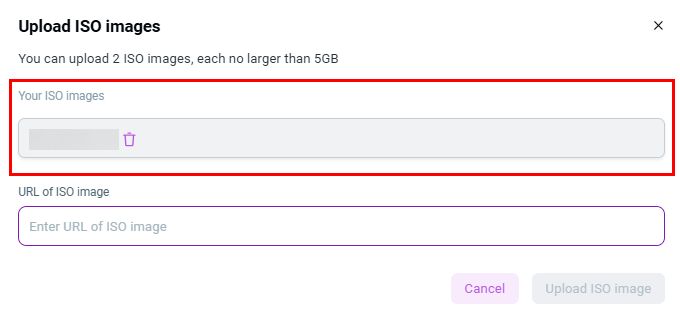
Limitations for uploading ISO images for a single client account: - Maximum number of ISO files: 2 files; - Maximum size of each ISO file: 7 GB.
To upload an ISO image, follow these steps:
Go to the Configuration tab >> Mount ISO and click the Upload ISO button:
Enter the URL of your ISO image. For example, you can use official distribution repositories, such as CentOS.org, to download a CentOS image, or use file storage services.
Click the Upload ISO Image button to start transferring the ISO image:

Uploading the image will take a few minutes, depending on the image size. Refresh the page.

After the upload is complete, the ISO image will appear in the list of available images. Select the image you want to mount from the list:
After selecting the operating system, Mount button:
Then, launch the console using the Console tab.
The server management console is a tool designed for administering, monitoring, and configuring server hardware or software.
Information