Automatic payment
In this article
Information
It is possible to enable automatic payment for the entire account or for a specific product in the Invapi control panel. When auto-pay is enabled, invoices with linked servers and a credit balance sufficient to pay the invoice will be automatically paid from the credit account.
Enable automatic payment
Automatic payment can be enabled in several ways:
-
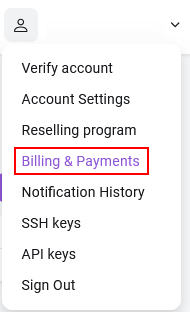
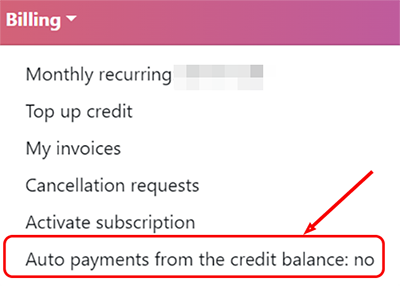
In the Billing & Payments menu in the Invapi control panel, located in the Profile section, click on Auto payments from the credit balance to select it:
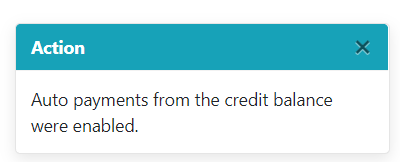
After successful connection of automatic payment you will also receive a notification about connection of auto payment:
-
To enable automatic payment for a specific server, navigate to the Billing tab in the server card and toggle the switch in the Automatic payment from balance row to
Enable:
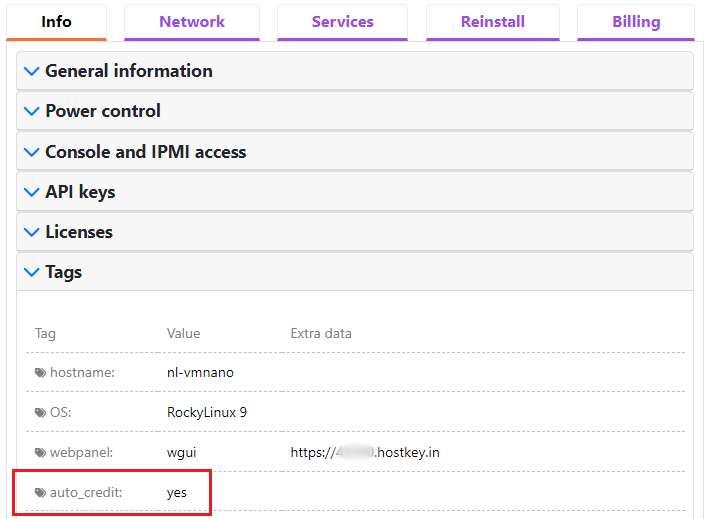
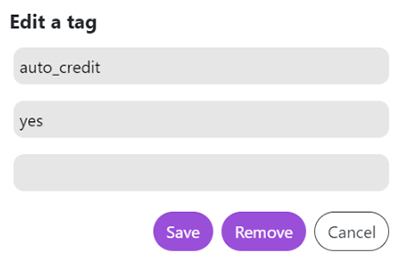
The tag auto_credit will be appeared in the Tags tab after enabling automatic payment:
Disable automatic payment
There are several ways to disable automatic payment:
-
In the Billing & Payments menu in the Invapi control panel, located in the Profile section, click on Auto payments from the credit balance to select it.
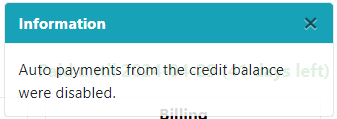
You will receive a notification if the disconnection is successful.
-
To disable automatic payment for a specific server, navigate to the Billing tab in the server card and toggle the switch in the Automatic payment from balance row to
Disable:
Using auto_credit tag
An alternative way to enable automatic payment for a specific server is to add the auto_credit tag. To do this, go to the Configuration tab in the Tags section, click the Add tag button in the Tags tab, enter the tag name in the Tag name field, and specify the value - yes in the Tag value field:
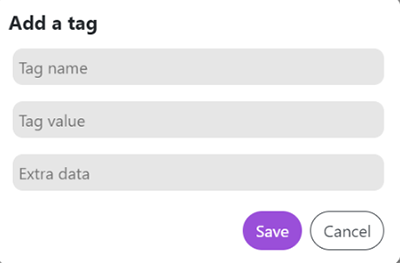
Then click the Save button to complete the creation of the tag.
Attention
Removing the tag will disable automatic payment for the particular server.
Note
You can also use API calls to add and remove tags. You can read more about this in the appropriate documentation section